How to print a calendar
Whether you want to use some family photographs or display your art, a calendar is a lovely and meaningful way to share them, as your images will be on someone’s wall for a whole year.
Having just gone through the process myself I have some advice and tips. Getting your own custom calendar printed is pretty straightforward but there are one or two crucial things to know which mean the difference between a professional looking result and one that’s a bit amateurish.
First of all you have to decide what size and format you want. Surprisingly, although the most common commercial calendars available are stitched square ones, there are very few of this style offered for custom versions. Those I did find were pretty expensive so maybe they’re not as easy to produce in the small quanitities that most custom calendars usually require.
You can easily find square ones at 210mm in several cases. Mostly though you get offered ring bound formats in either A4 or A3. These will have the image at the top of each page and the month in a grid underneath.
Because these images are all in landscape you have to consider how your artwork fits into this ratio. The most important thing to know is the exact size of the image that will be printed. Sometimes websites are a bit vague so you might have to contact the company to find this out.
With Contrado (the company I used) I had to email to ask and all they told me was the ratio rather than the exact size. The reason it is so important to know this is because of something called ‘bleed’. This is a printing term and it refers to the perimeter of an image that might be lost when the picture is printed. It’s more easy to understand in relation to having say a poster printed. Because this will be cut to size you want an area (usually 3mm wide) around the image that can be lost without any important bits being chopped off. You therefore have to factor that in when you upload your picture. Not only that, but you don’t want to have an object too close even to the 3mm as this does not look good.
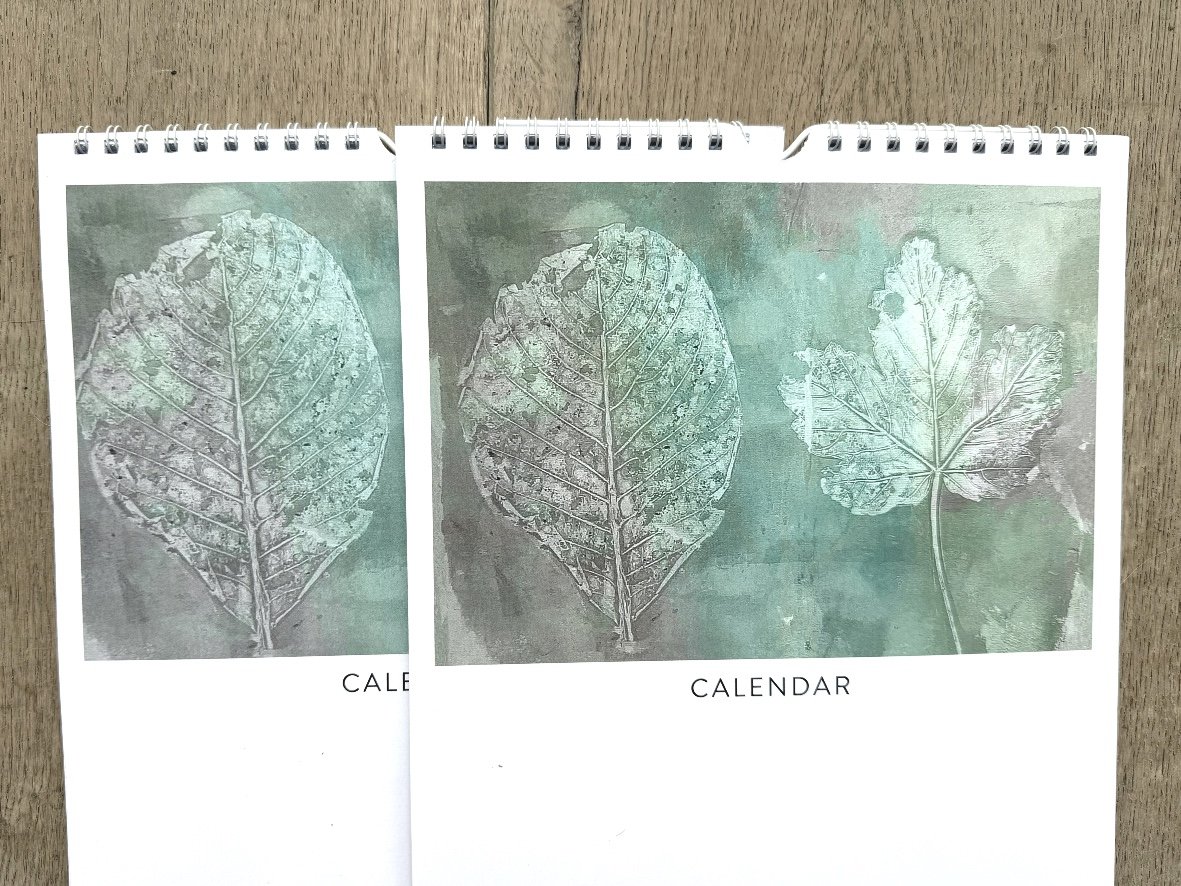
I had a single calendar printed first as a sample and I’m so glad I did,as you can see that I encountered this problem because I did not have the exact dimensions initially.
Once I had the physical calendar in my hands I could measure for myself and, for reference, the width was 19.5cm and the height 13.5cm, so not exactly three by four.
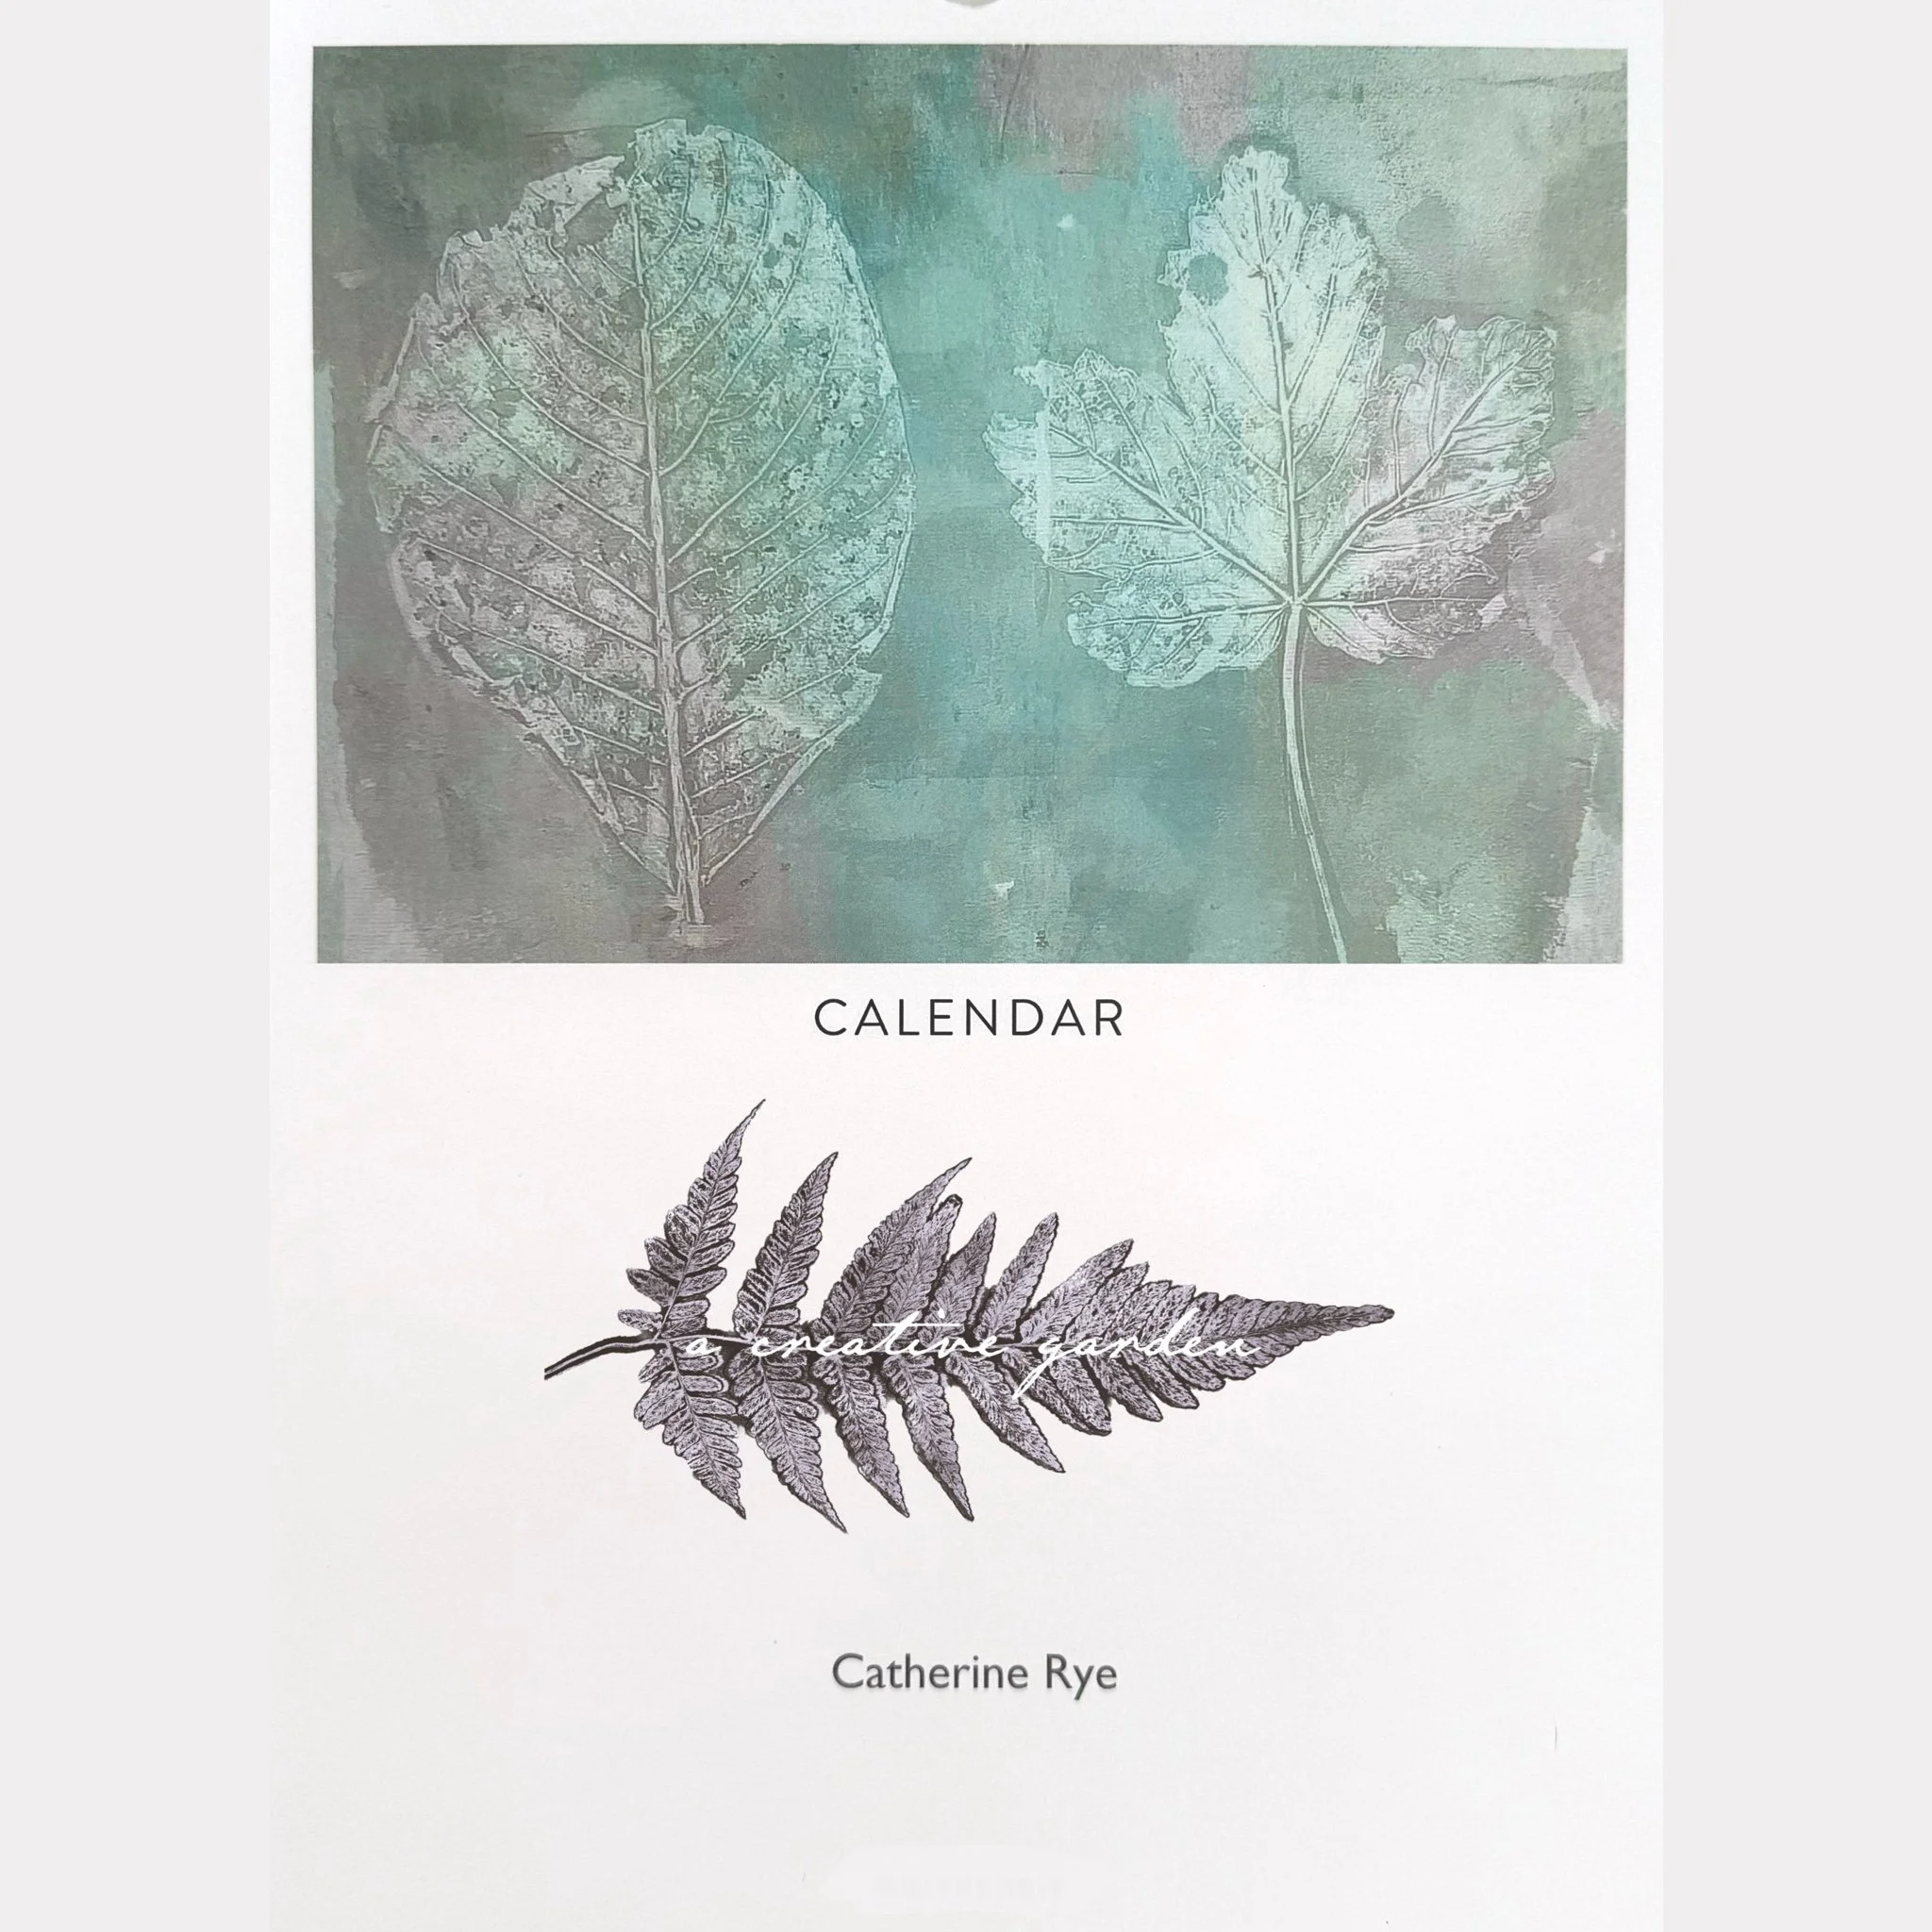
In this cover image you can see that the image has been cropped right next to the edge of the leaves and I didn’t like it as it made the image look cramped. There were also several other images that had the same problem. My solution was to measure that printed version so I had the exact dimensions. I then digitally altered my pictures so that I had nothing butting up to the edge. This isn’t as hard as it sounds although it can be a bit time consuming.
I use a programme called Procreate - you can read more about it here:
https://acreativegarden.com/blog/apps-for-creativity
Nearly all image software has a clone tool. This will take one area of pixels and put it down wherever you place your tool. You have to be a bit careful with it as if you repeat an artefact such as a little area of a different colour, it can look rather obvious.
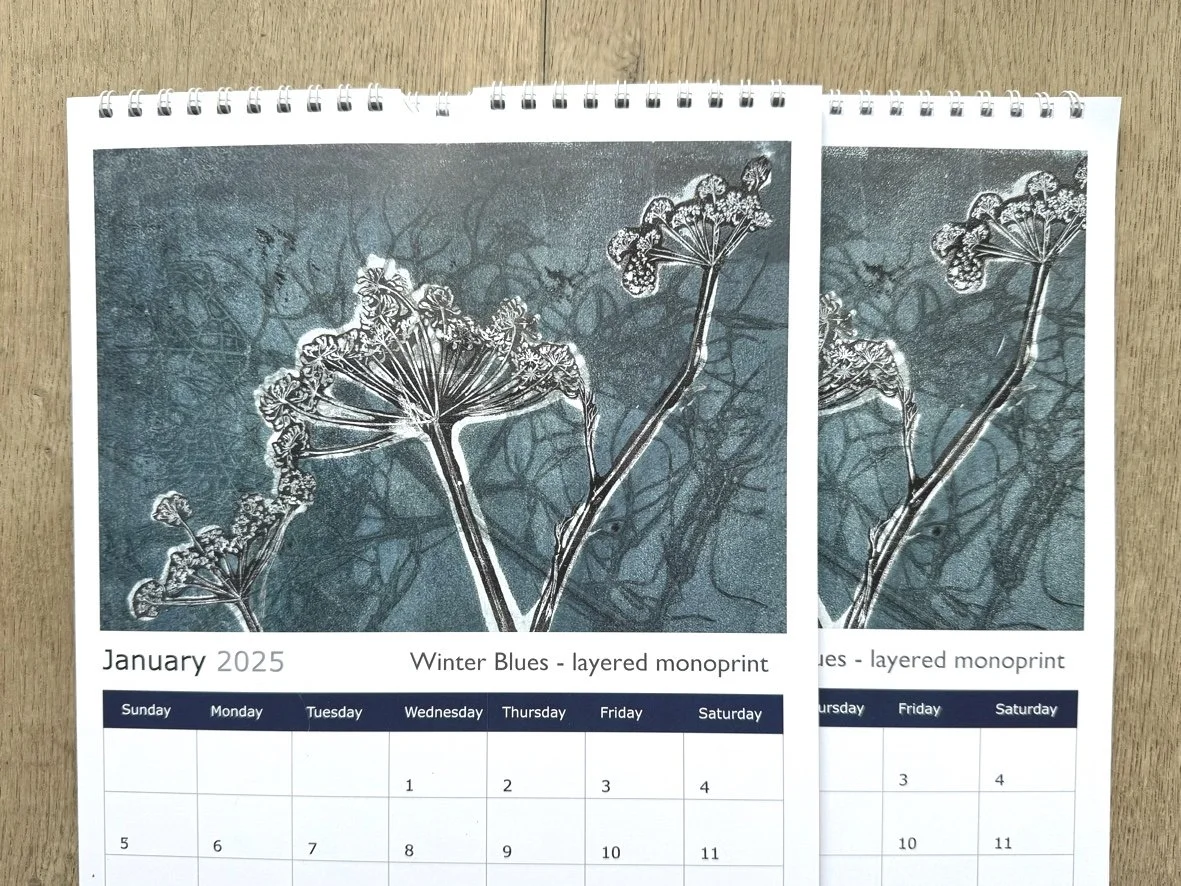
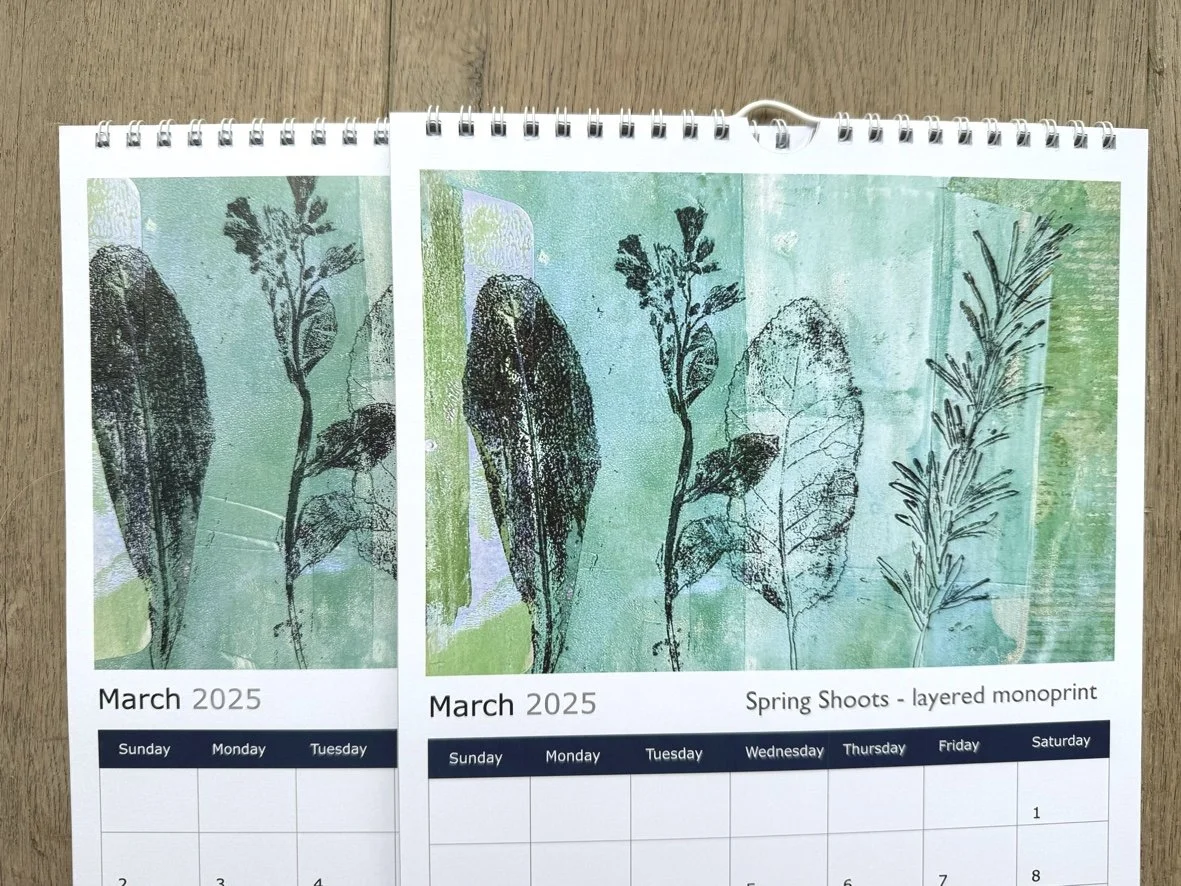
Here are some of the before and after versions of the cropped details of my pictures:
If you watch my video you’ll be able to see in more detail how I improved my images.
So to sum up try and find out the exact dimensions from the company you’re getting your calendar from. If you’re getting more than a few printed I’d really recommend getting a sample printed first. Not only did I change the ratio of my images I also changed the colour of some of them too.
My calendar is available here:


