Image transfer methods
Did you know that you can use your own photographs and transfer them onto paper and fabric, and even wood and other surfaces?
There are several different methods and I’ve made a video where I talk through and demonstrate some of the best techniques which you can see at the bottom.
These techniques use inkjet and laser printouts but you use them in different ways.
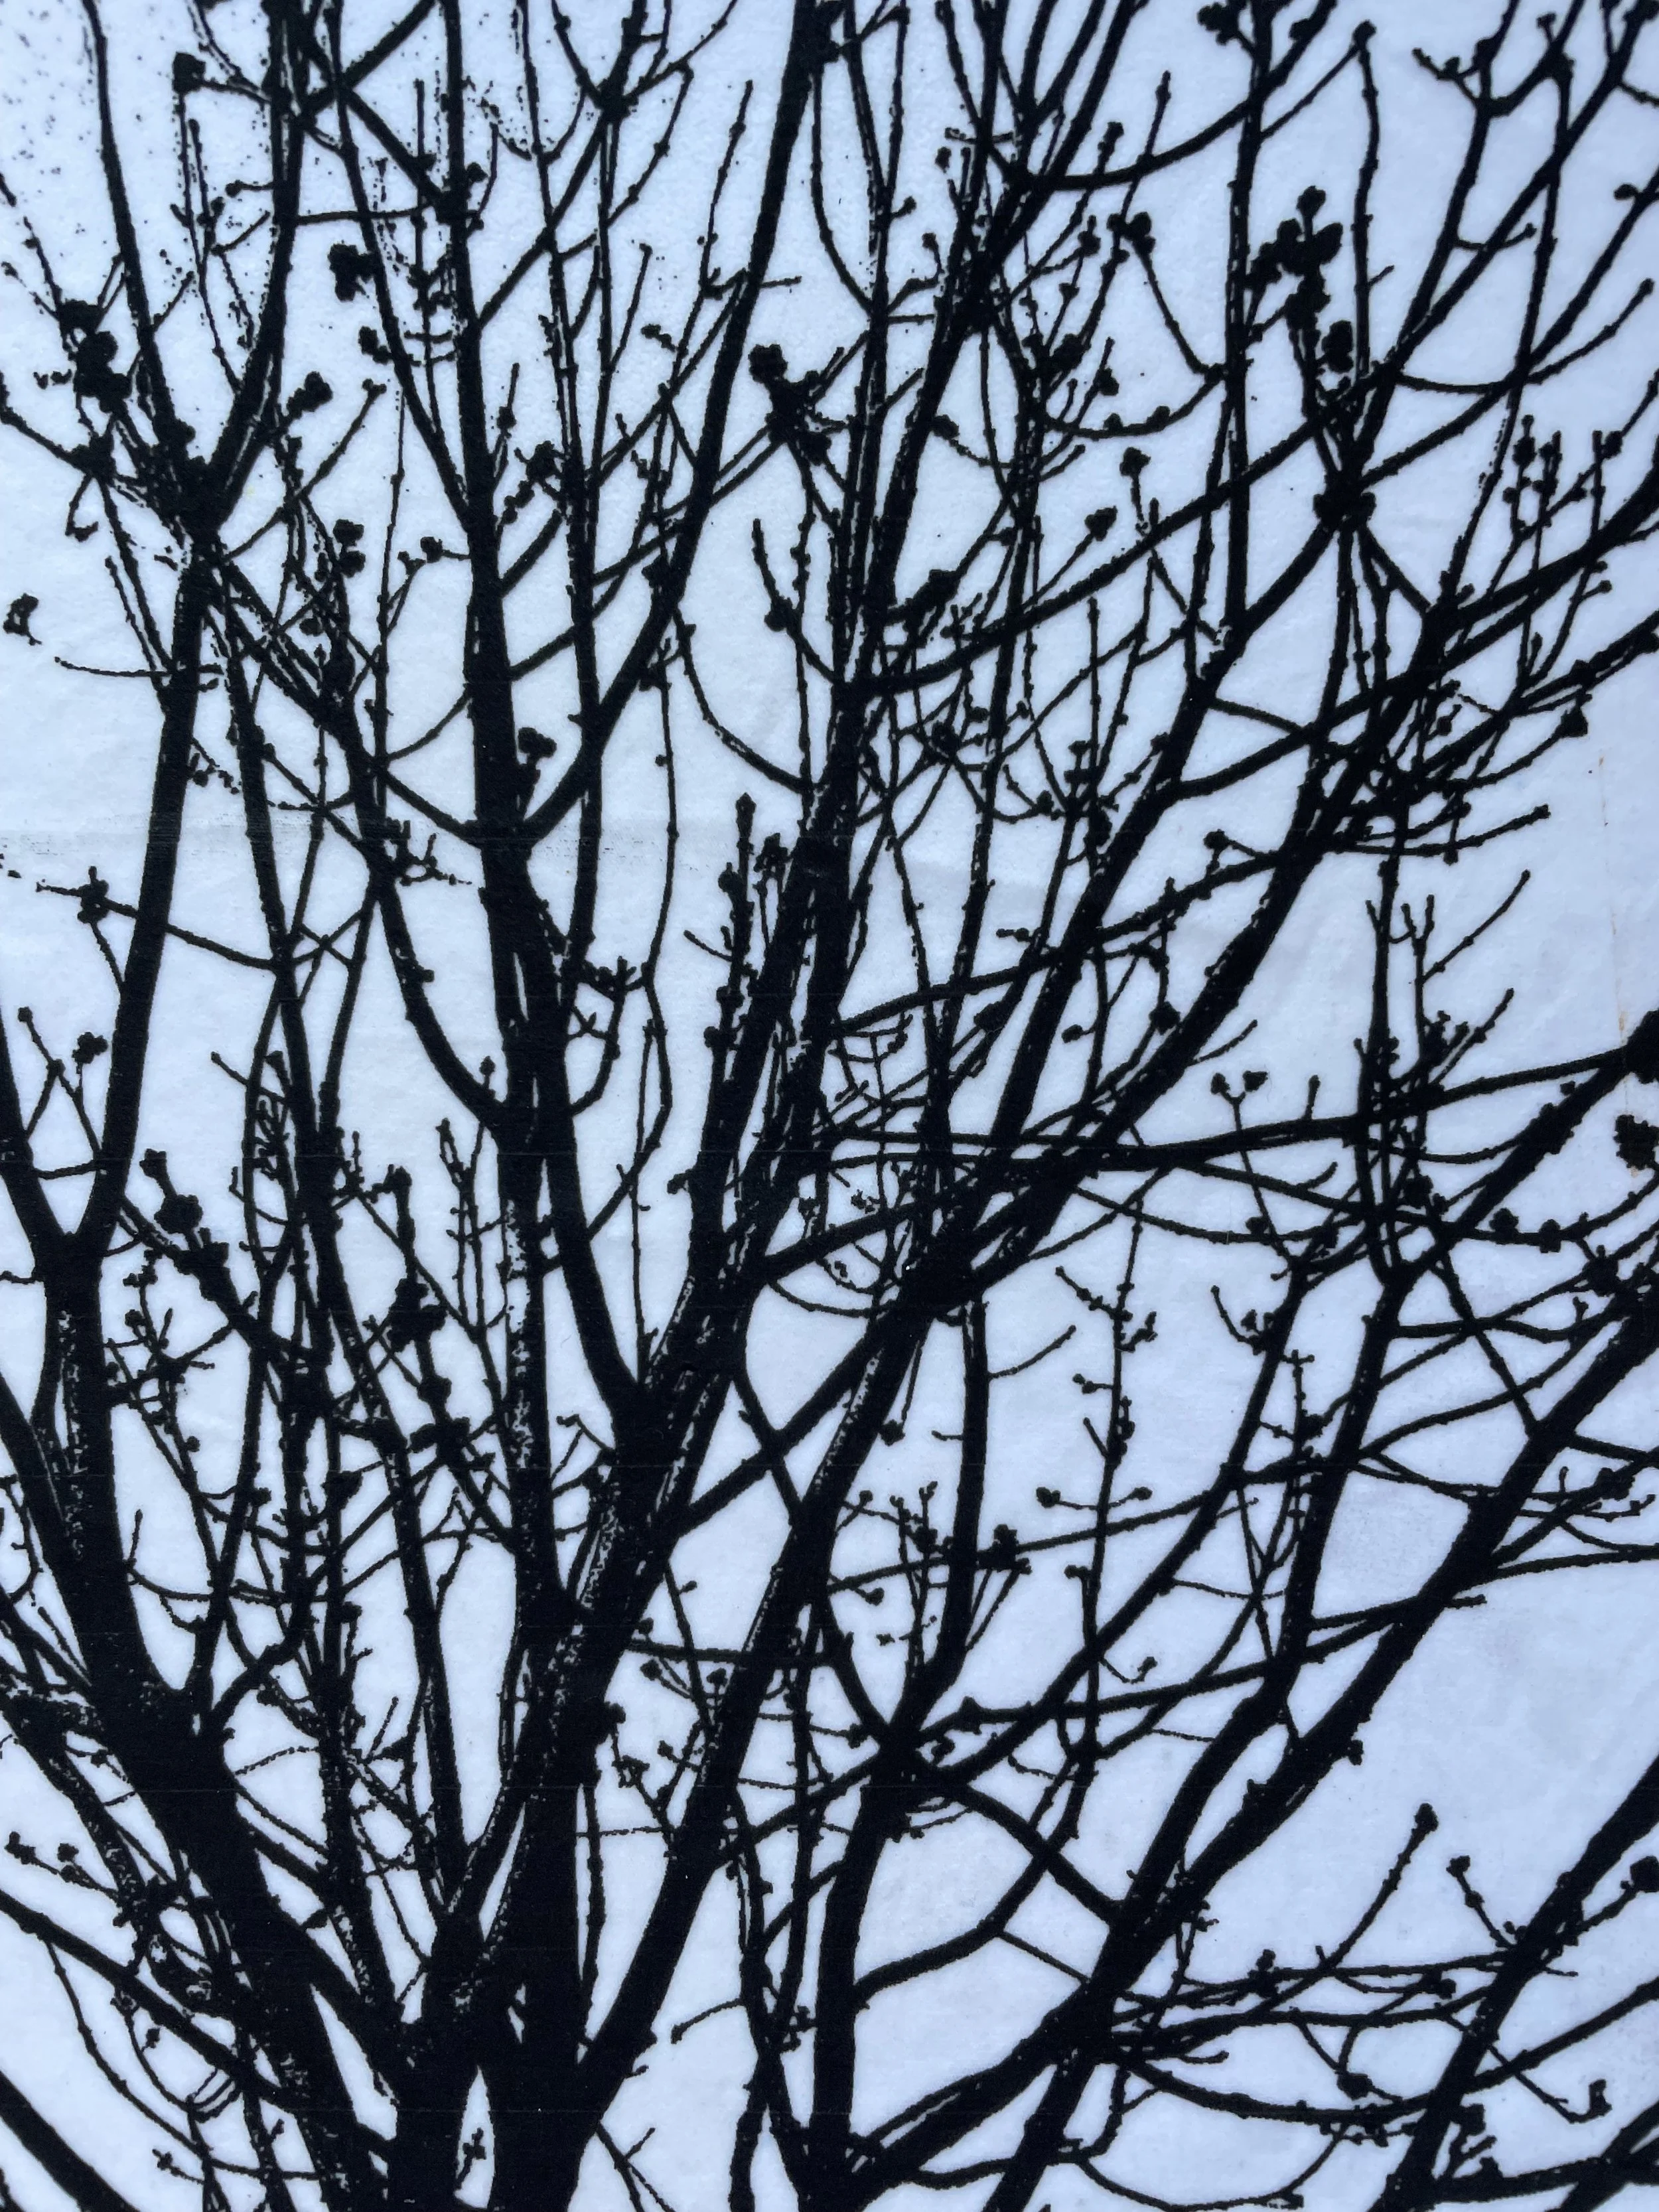
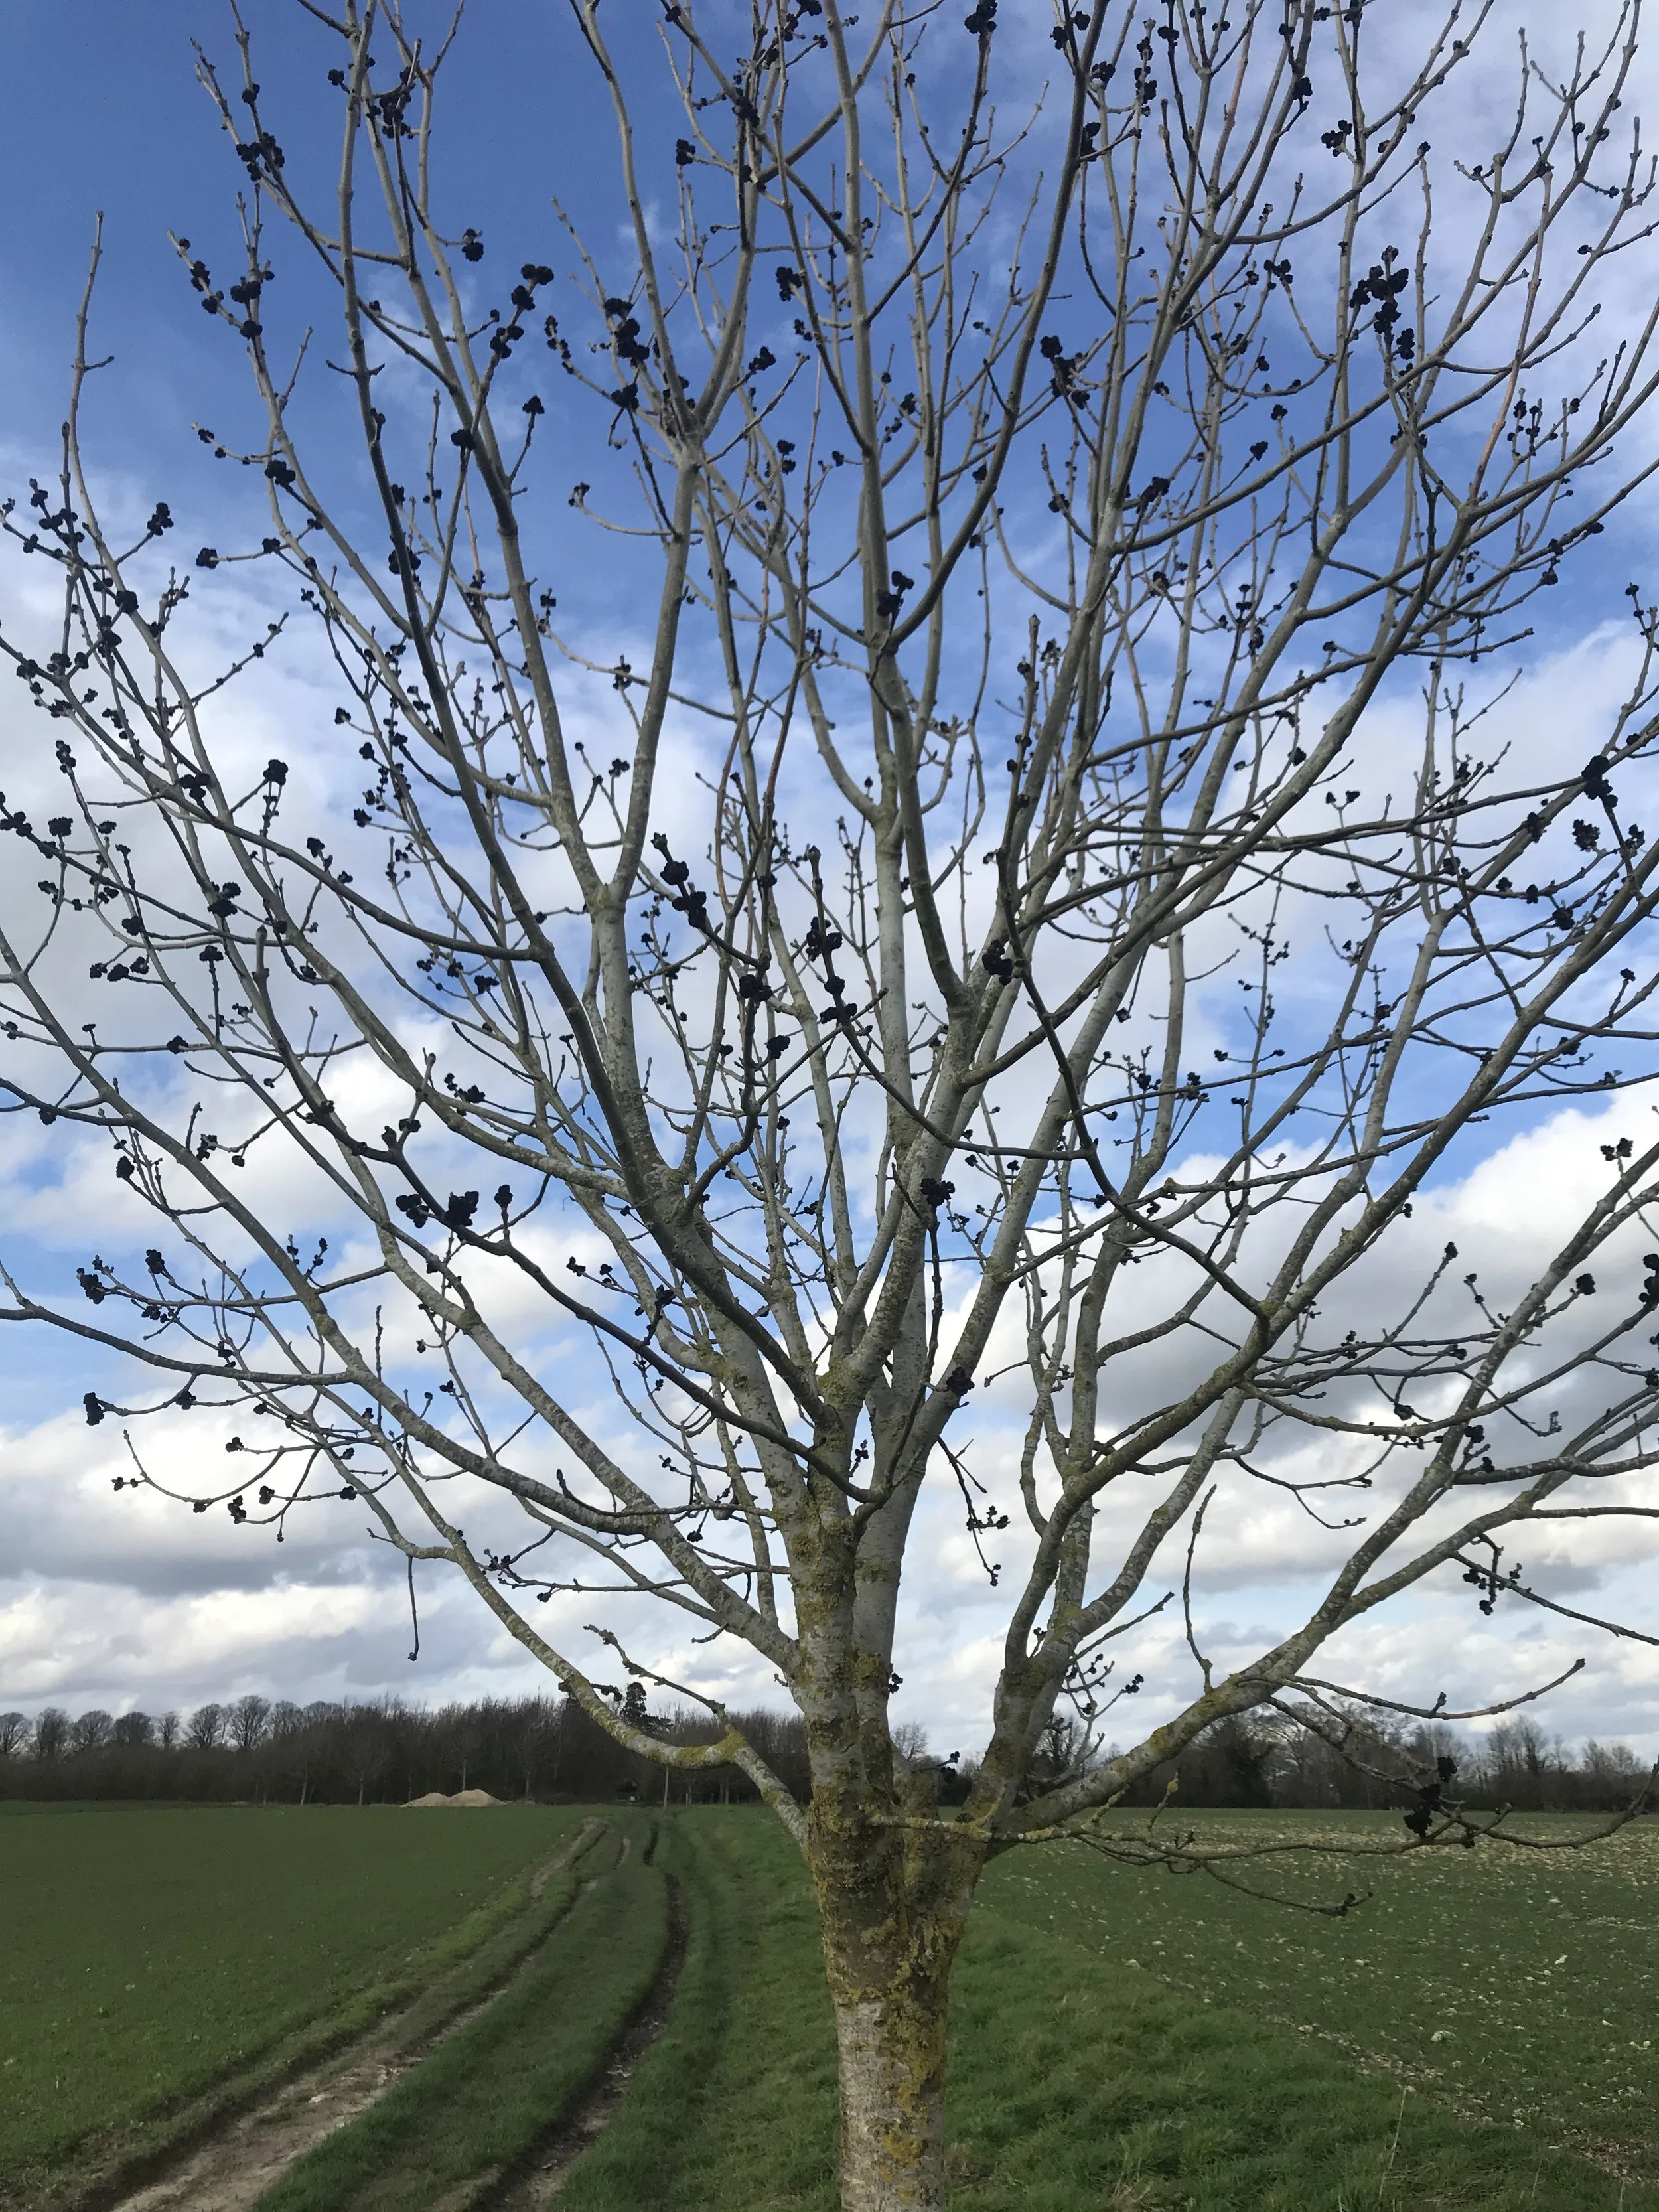
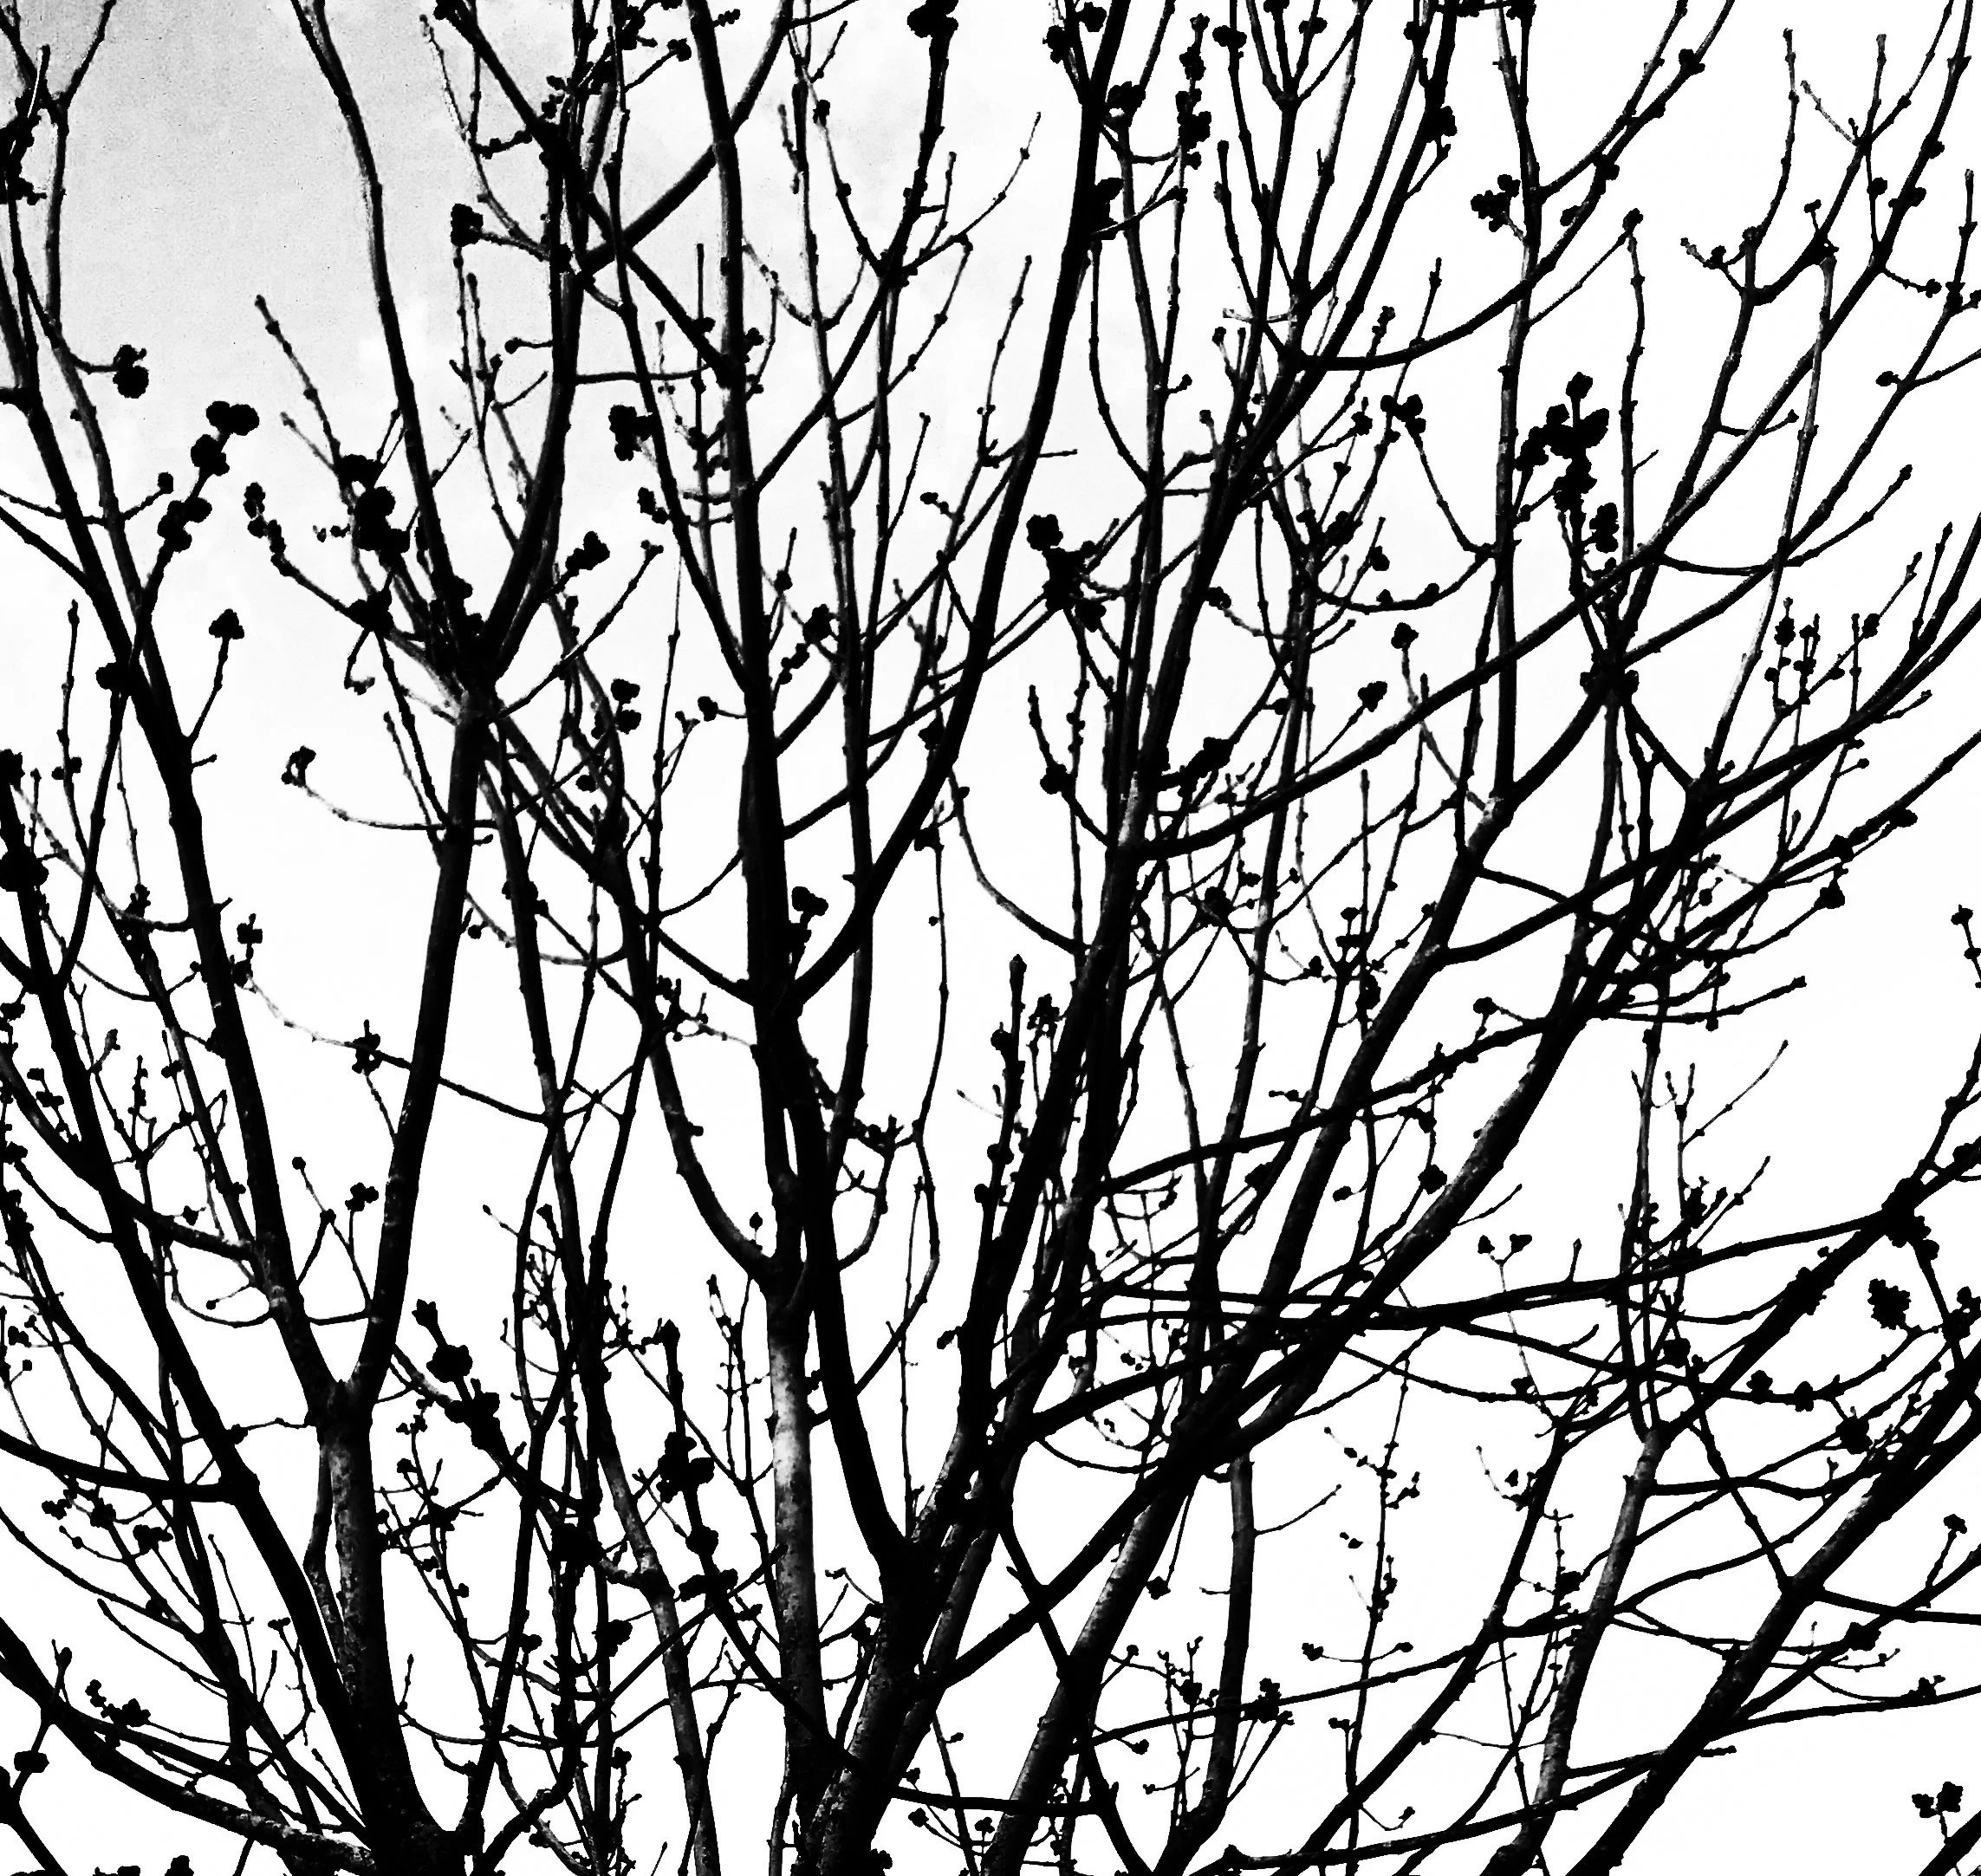
First of all you need to choose a suitable image. What you’re looking for is something with a high contrast which is why I chose this image of bare branches against a winter sky.
I then edited it to make this black and white image as I knew this would produce good results.
If you want to know how to edit like this, I have a 5 minute video where I show how to do this using 3 different free apps.
Inkjet transfers with a gelli plate
Using good quality copy paper (I use Nuco Navigator Multi-Purpose Printer Paper) print out your design using the best quality setting.
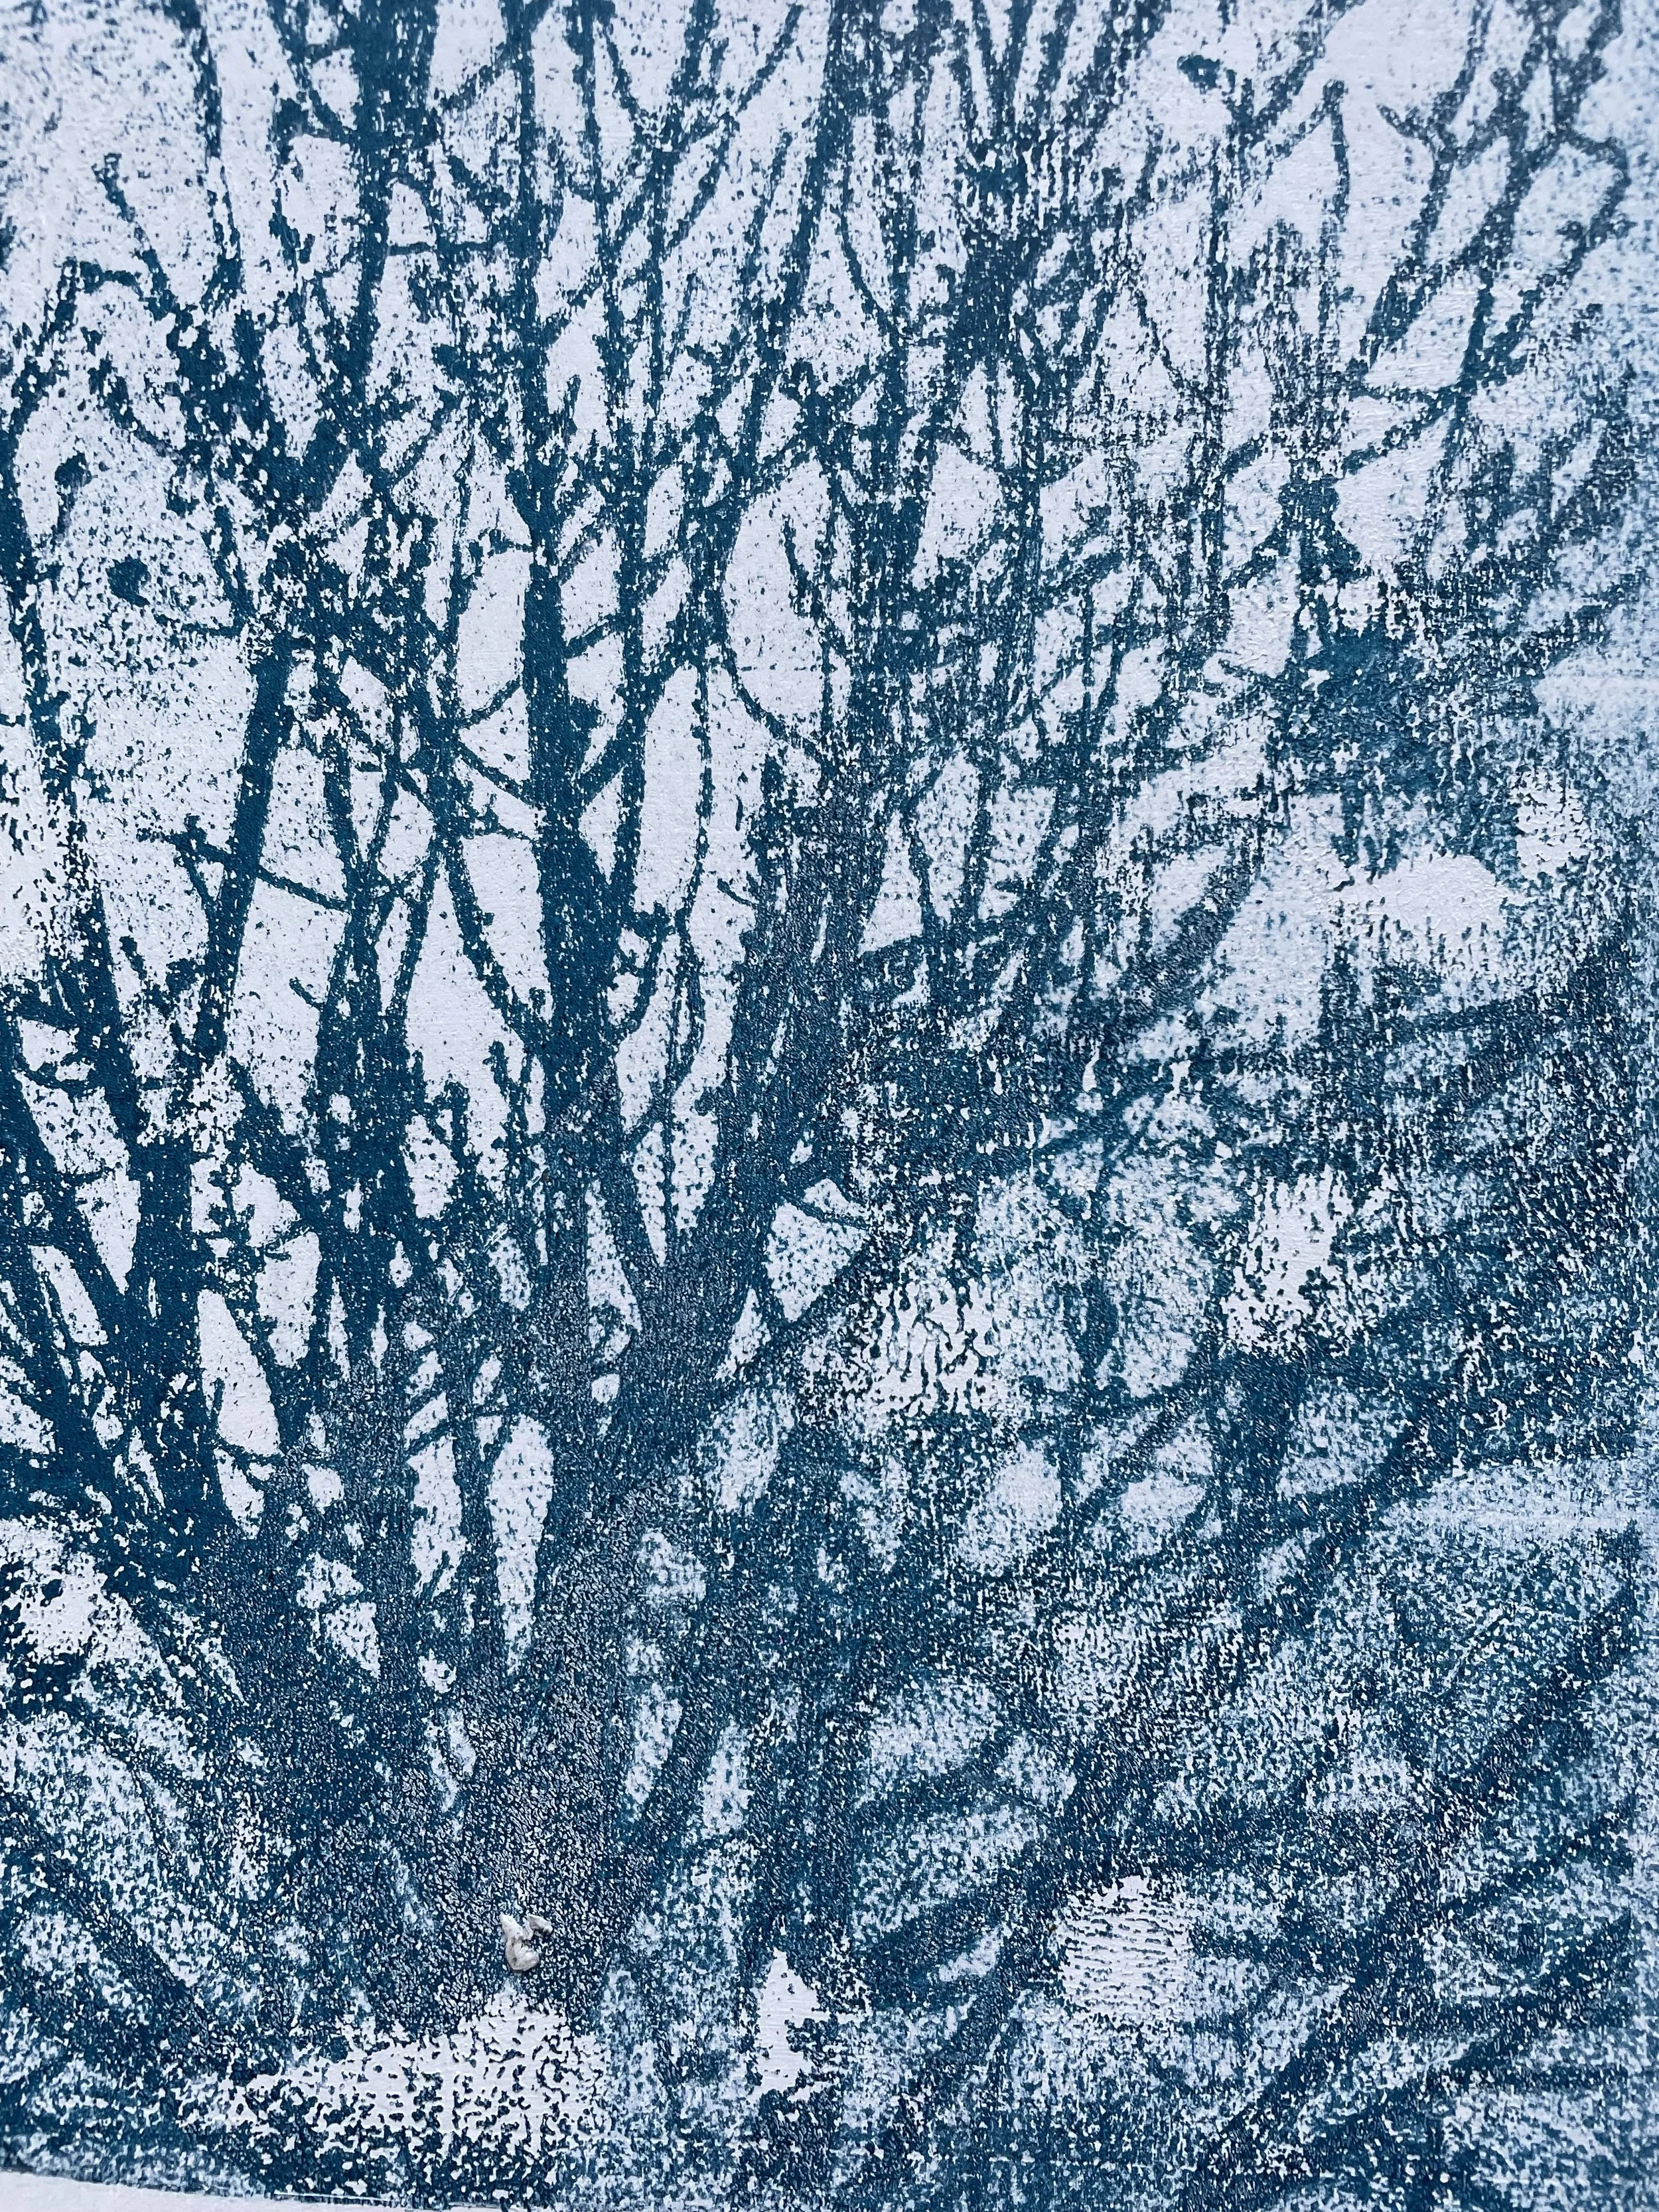
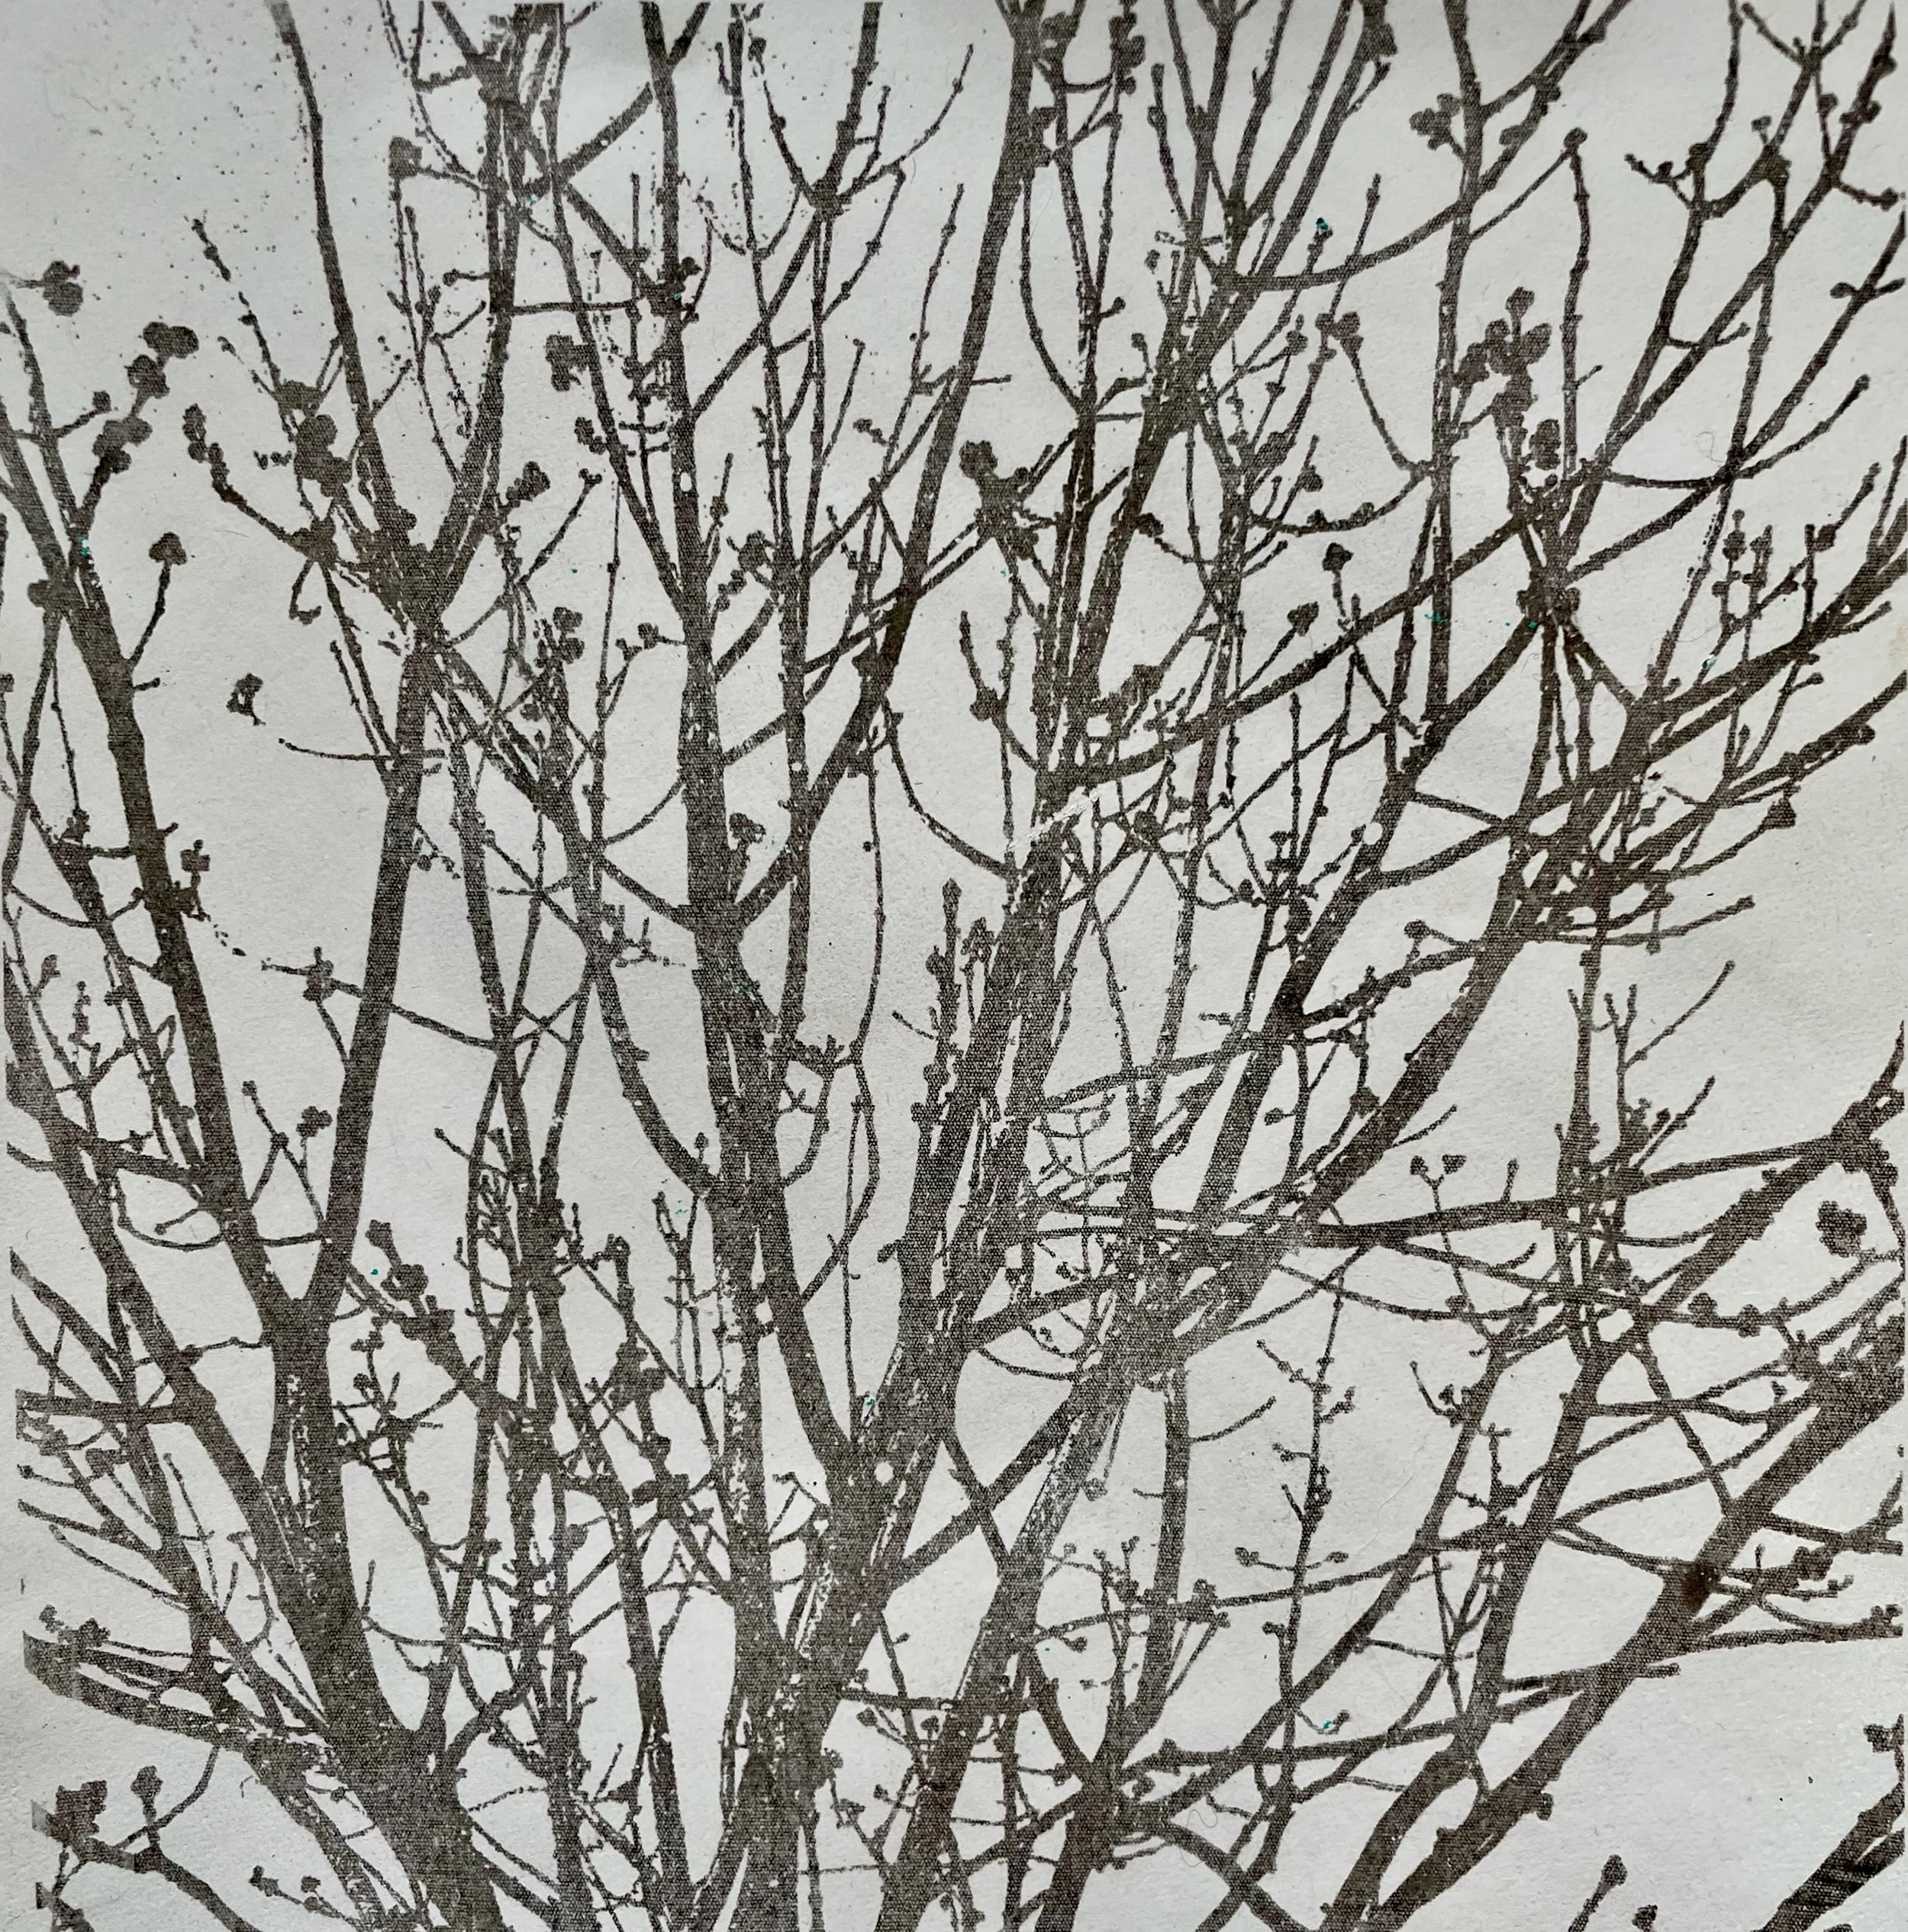
Rather magically you can just press the print onto the gelli plate and apply some pressure and some of the ink will transfer onto it.
You then roll a thin layer of acrylic paint or medium with a roller/brayer - thin enough so you can see the image through it, press down your paper or fabric and leave it until it’s dry. I usually put books on it while it’s drying to make sure there’s really good contact.
Once dry just carefully peel off your paper or fabric and the image should have transferred.
Toner transfers with a gelli plate
Toner is the kind of ink you get in a laser printer of a photo copier.
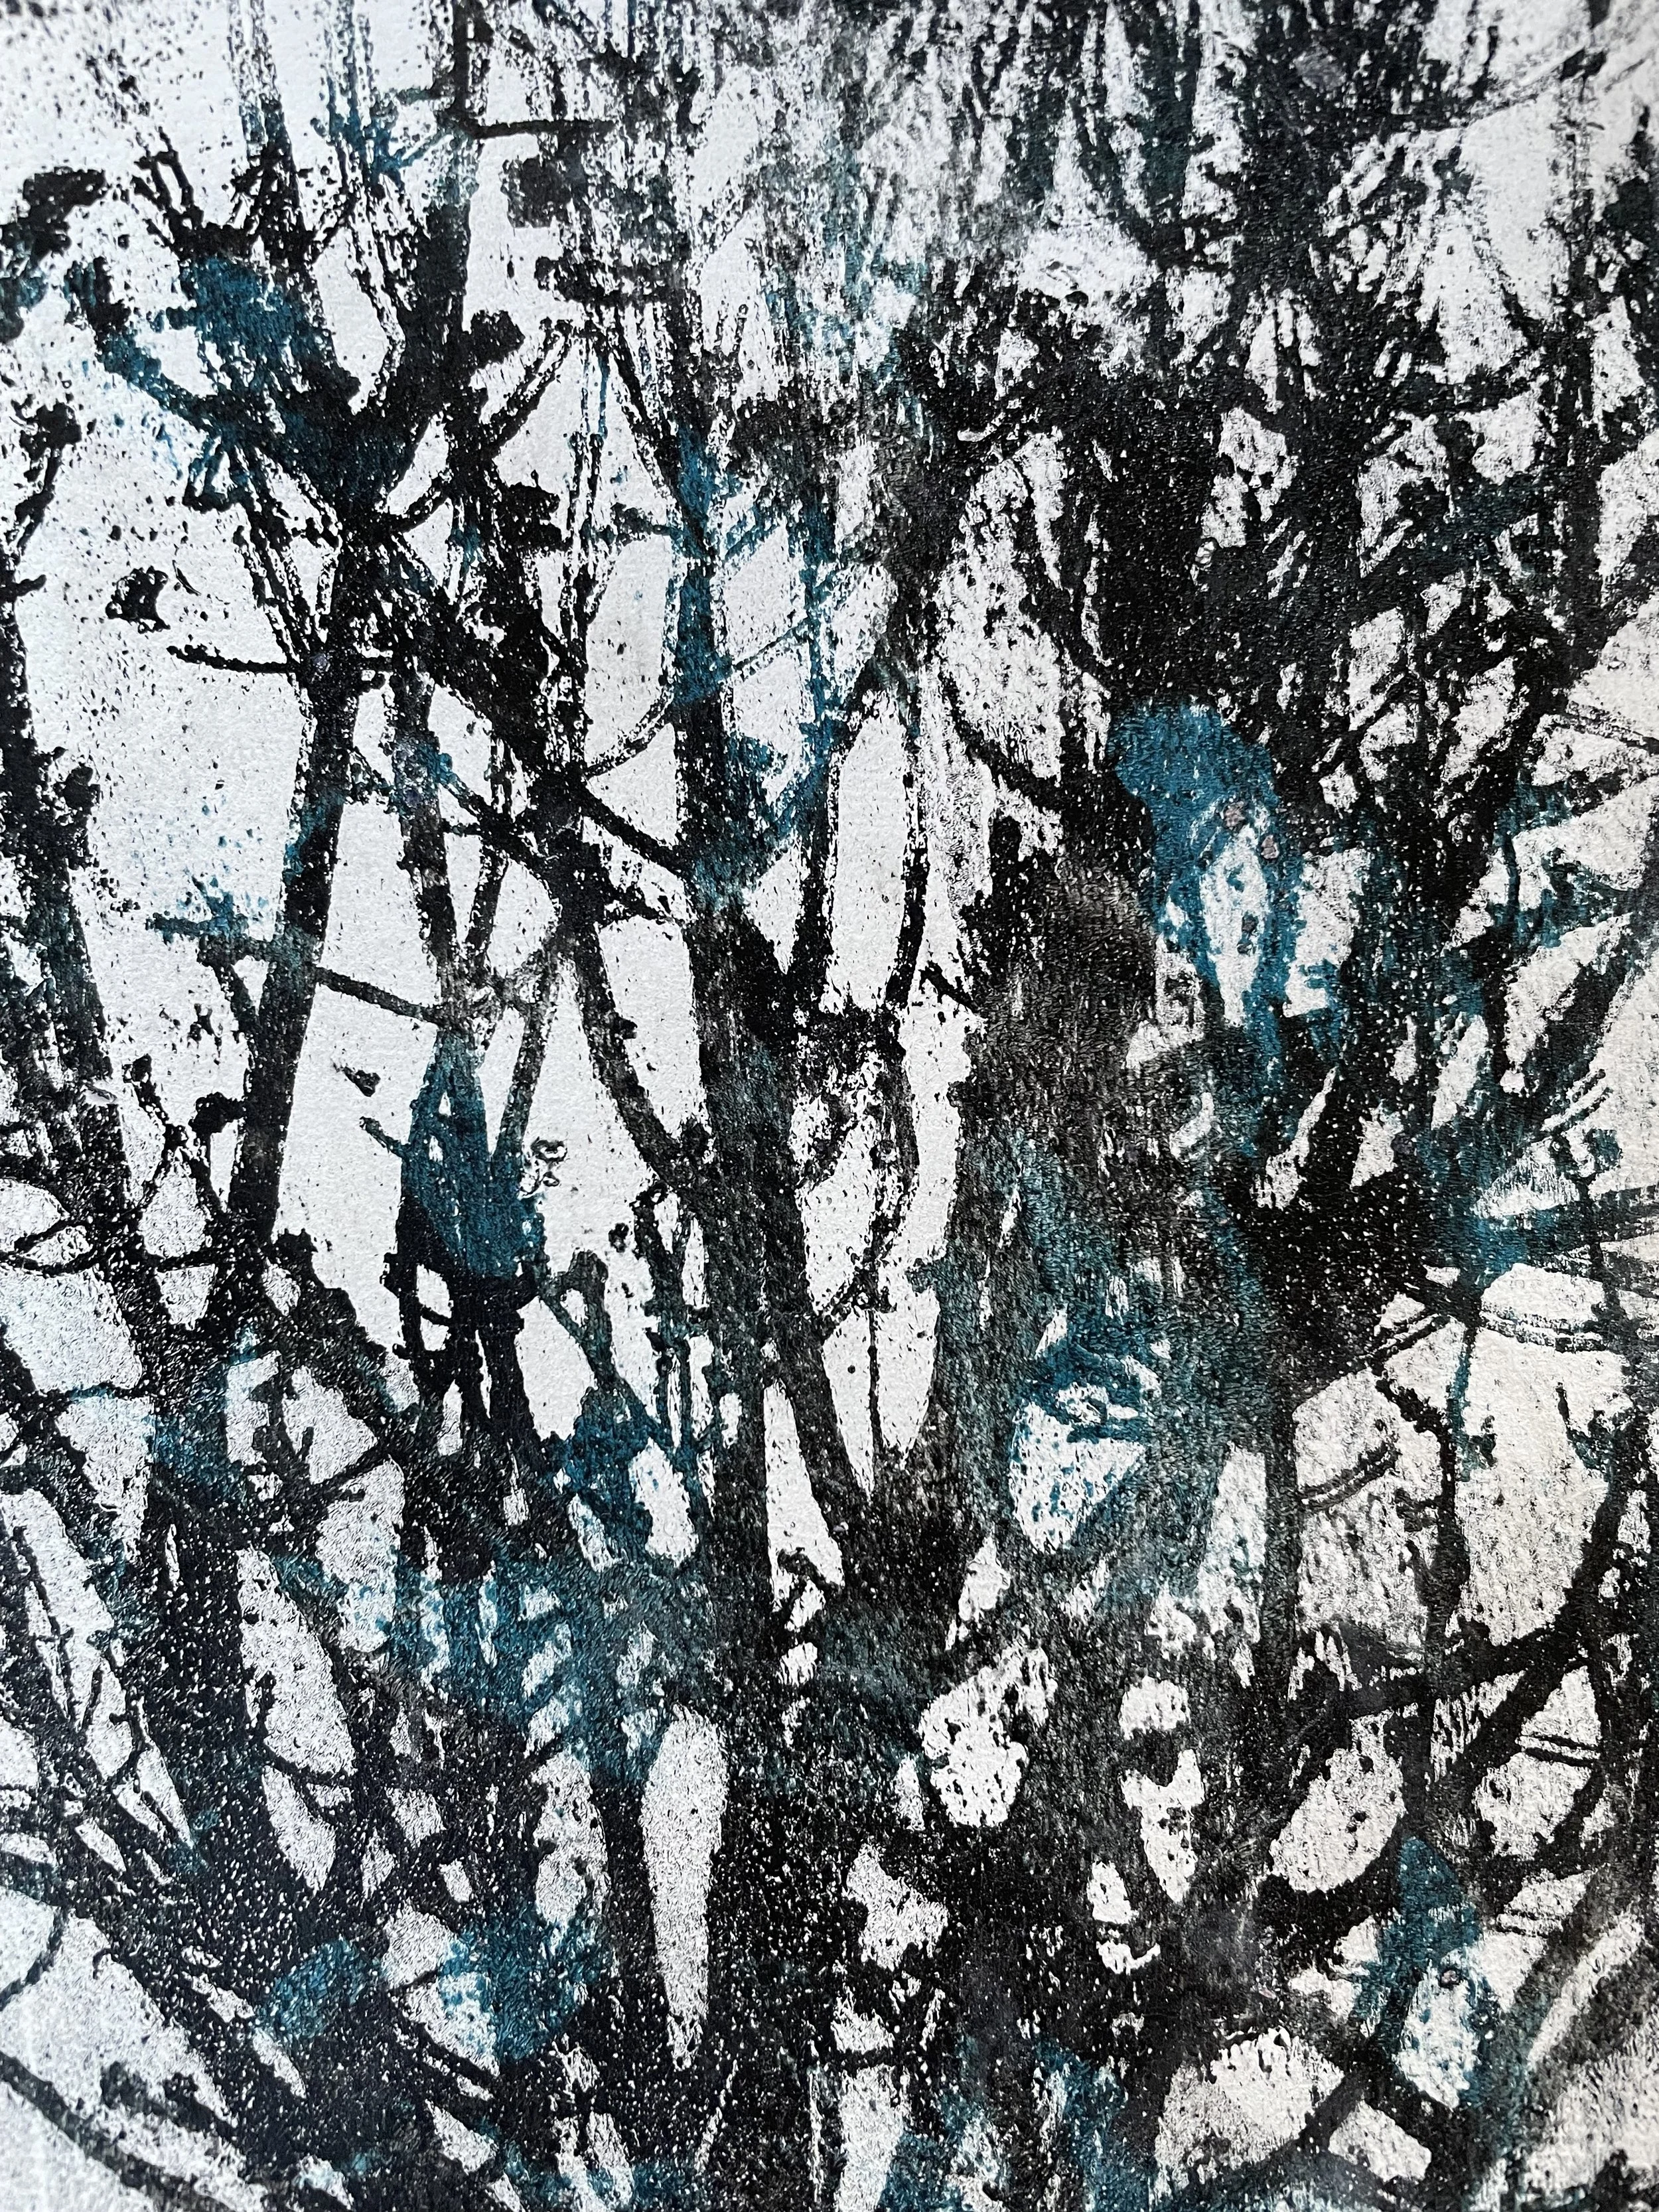
With this method, you are not transferring the ink itself but the print is acting as a mask. When you lift the paper, the ink areas will resist the paint or medium thus leaving the design on your plate.
Although with my laser printer I could get into the settings and increase the quality of the print, I found I didn’t get good results with just one pass through the printer. So I put the paper twice through. Now this can be a bit tricky as it’s quite hard to line up the paper to be precise but you should be able to do this.
You apply paint to the gelli plate and follow the exact technique as in the first method but of course you can use any colour with this method.
I have also done successful transfers onto wooden panels like this which you can see below and I demonstrate in the video.
Inkjet transfer paper
There are two main types if transfer paper. One works by transferring just the ink and the other works by printing the ink onto a thin film and ironing that onto paper or fabric.
I had very poor results trying the first kind out but much better ones with the film sort. You do get a kind of plasticy feel to the finish so I wouldn’t personally use it for T shirts (which is what it’s meant for) but it I’d use it in other project such as tote bags for instance. I used one to make a portfolio cover and the fact it had a protective seal was useful in this case.
Thermofax screens
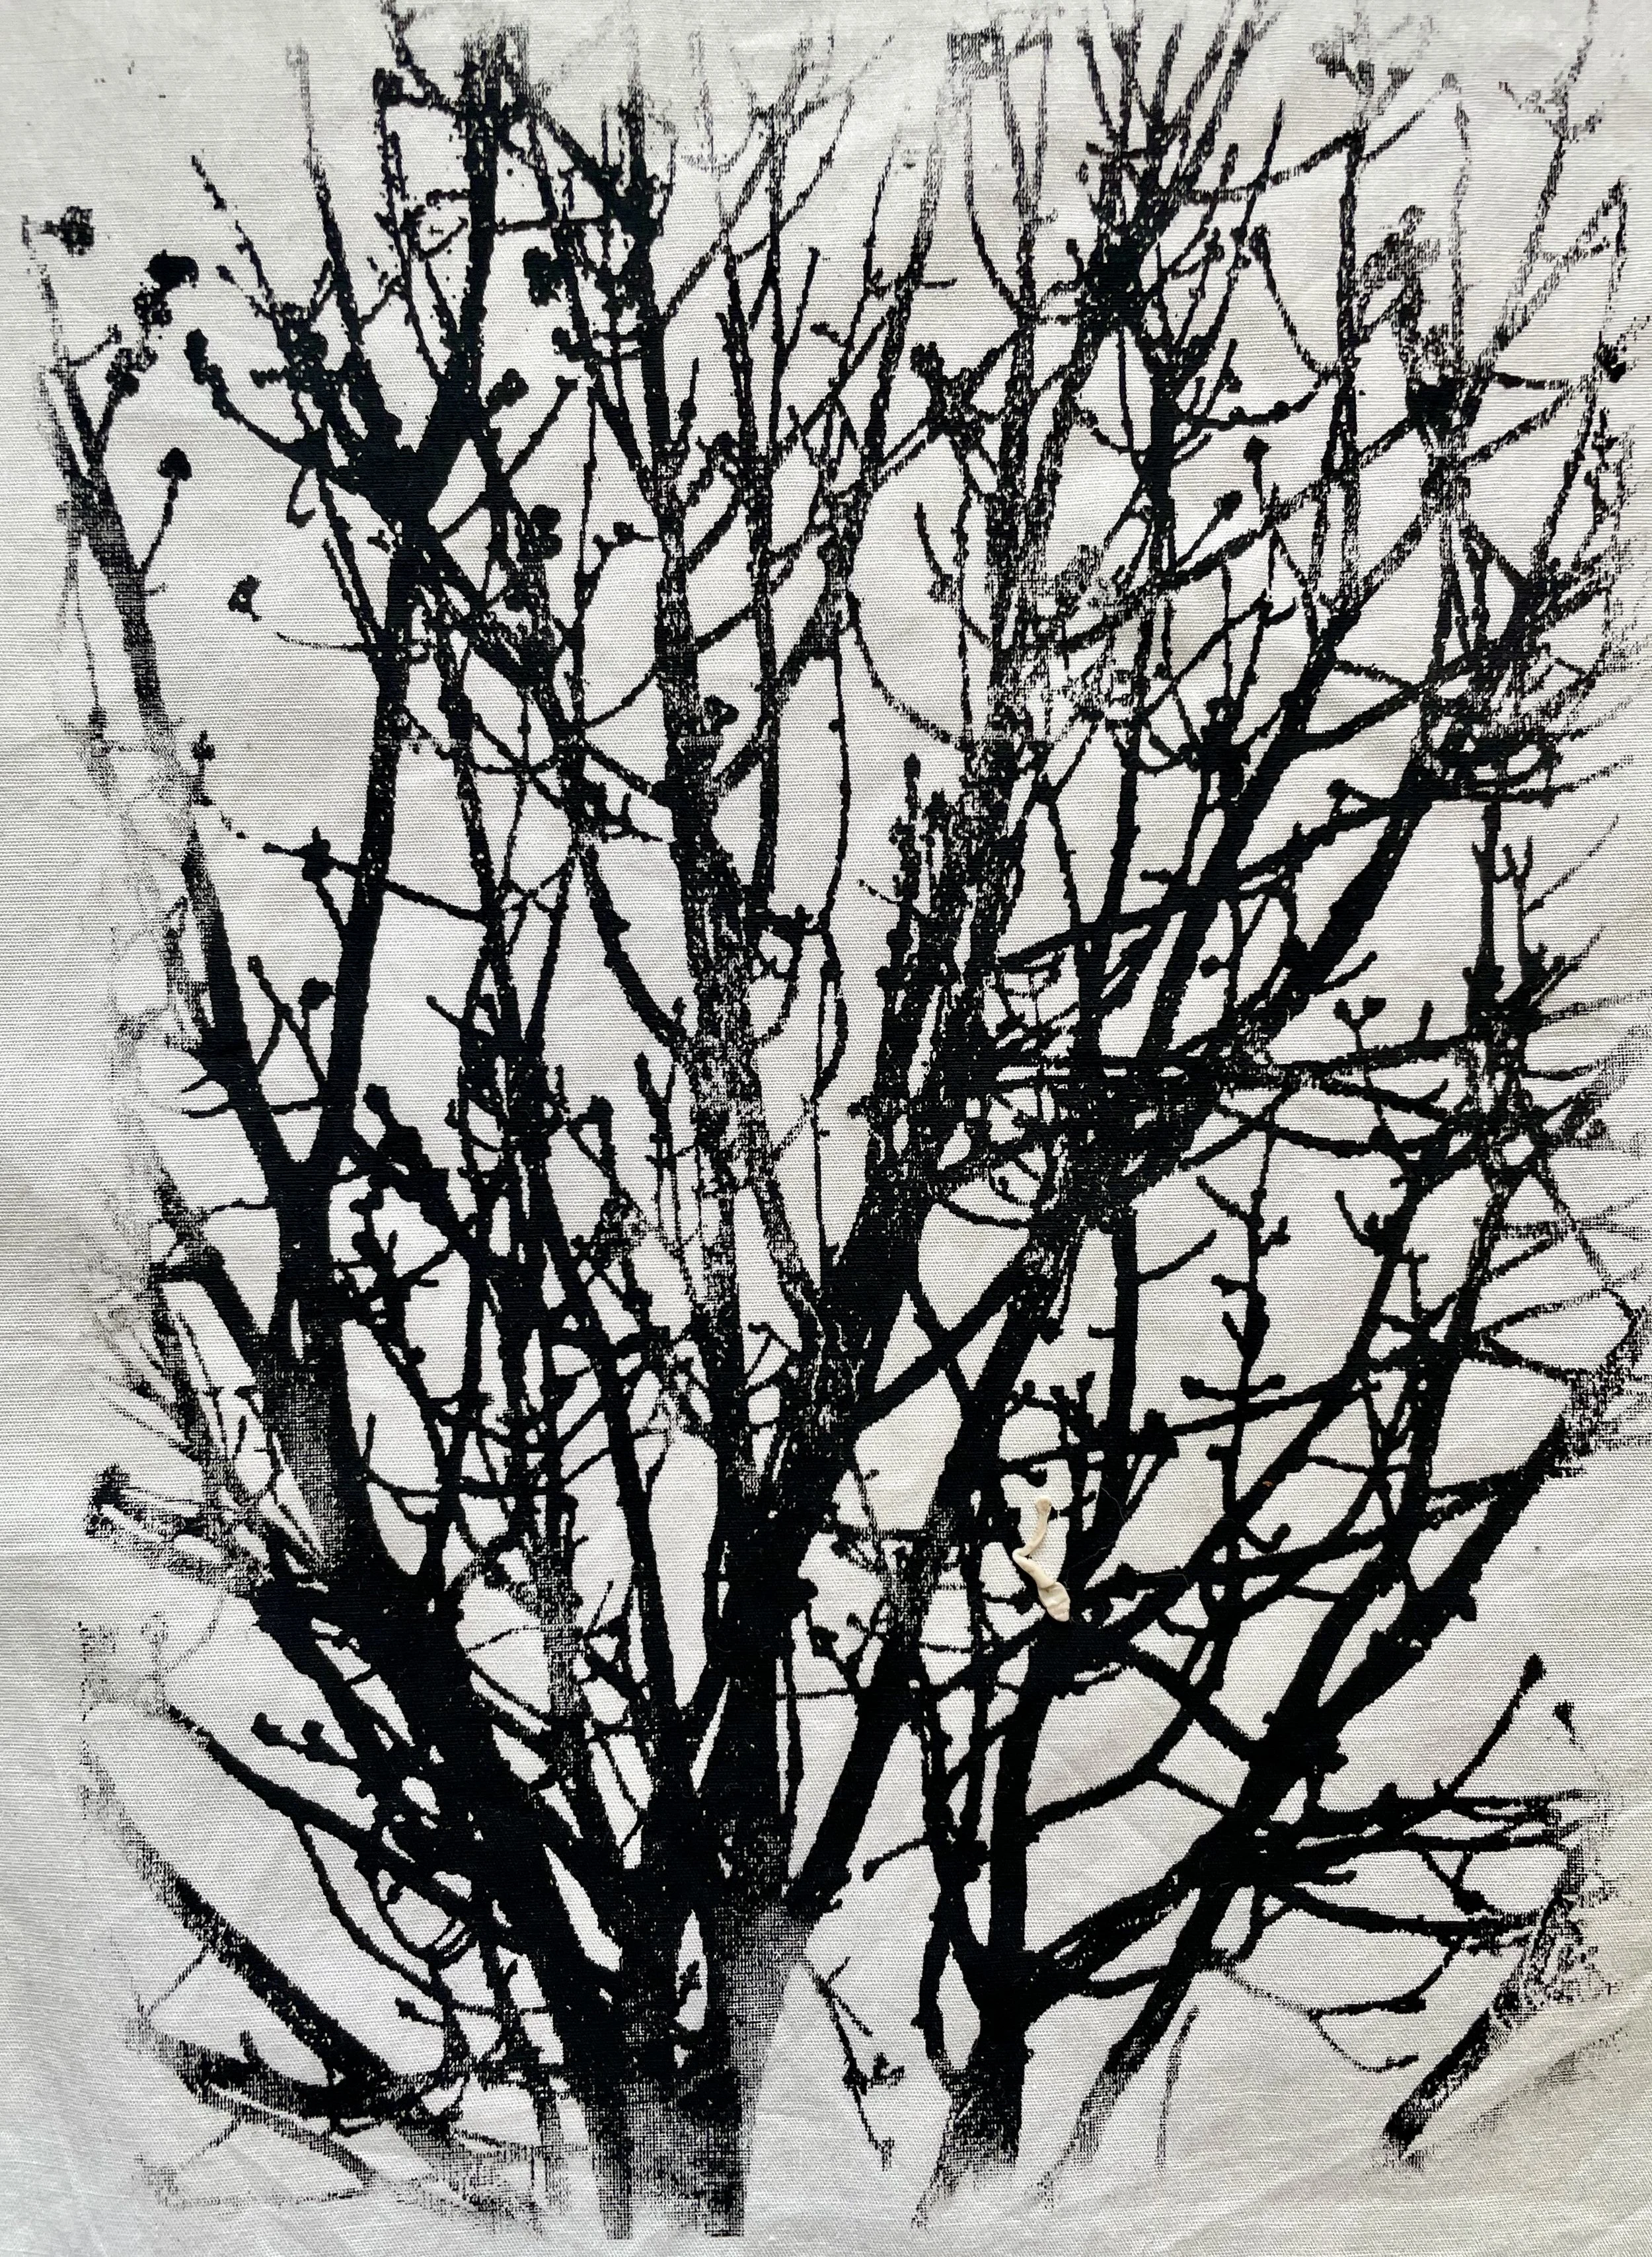
A thermofax machine is quite old technology, a sort of early photocopier, and it works by heat to burn a design on this special film. It has a mesh side and a plastic side and where the heat comes into contact with the black of a toner print it melts the plastic side and creates a stencil you can print through.
You don’t have to have your own machine as there are several places that you can send your own design to and they’ll custom print it for you, it’s particularly good for detailed, intricate designs.
If you buy one, you’ll probably get it sent to you in a rigid frame but I quite like to put duck tape round it.
You then use it similarly to a silk screen. You can use it with a squeegee but I quite like to use a foam brush on a stick.
I love the fact that I can use my own imagery to make detailed designs and I then have screens that I can use again and again.
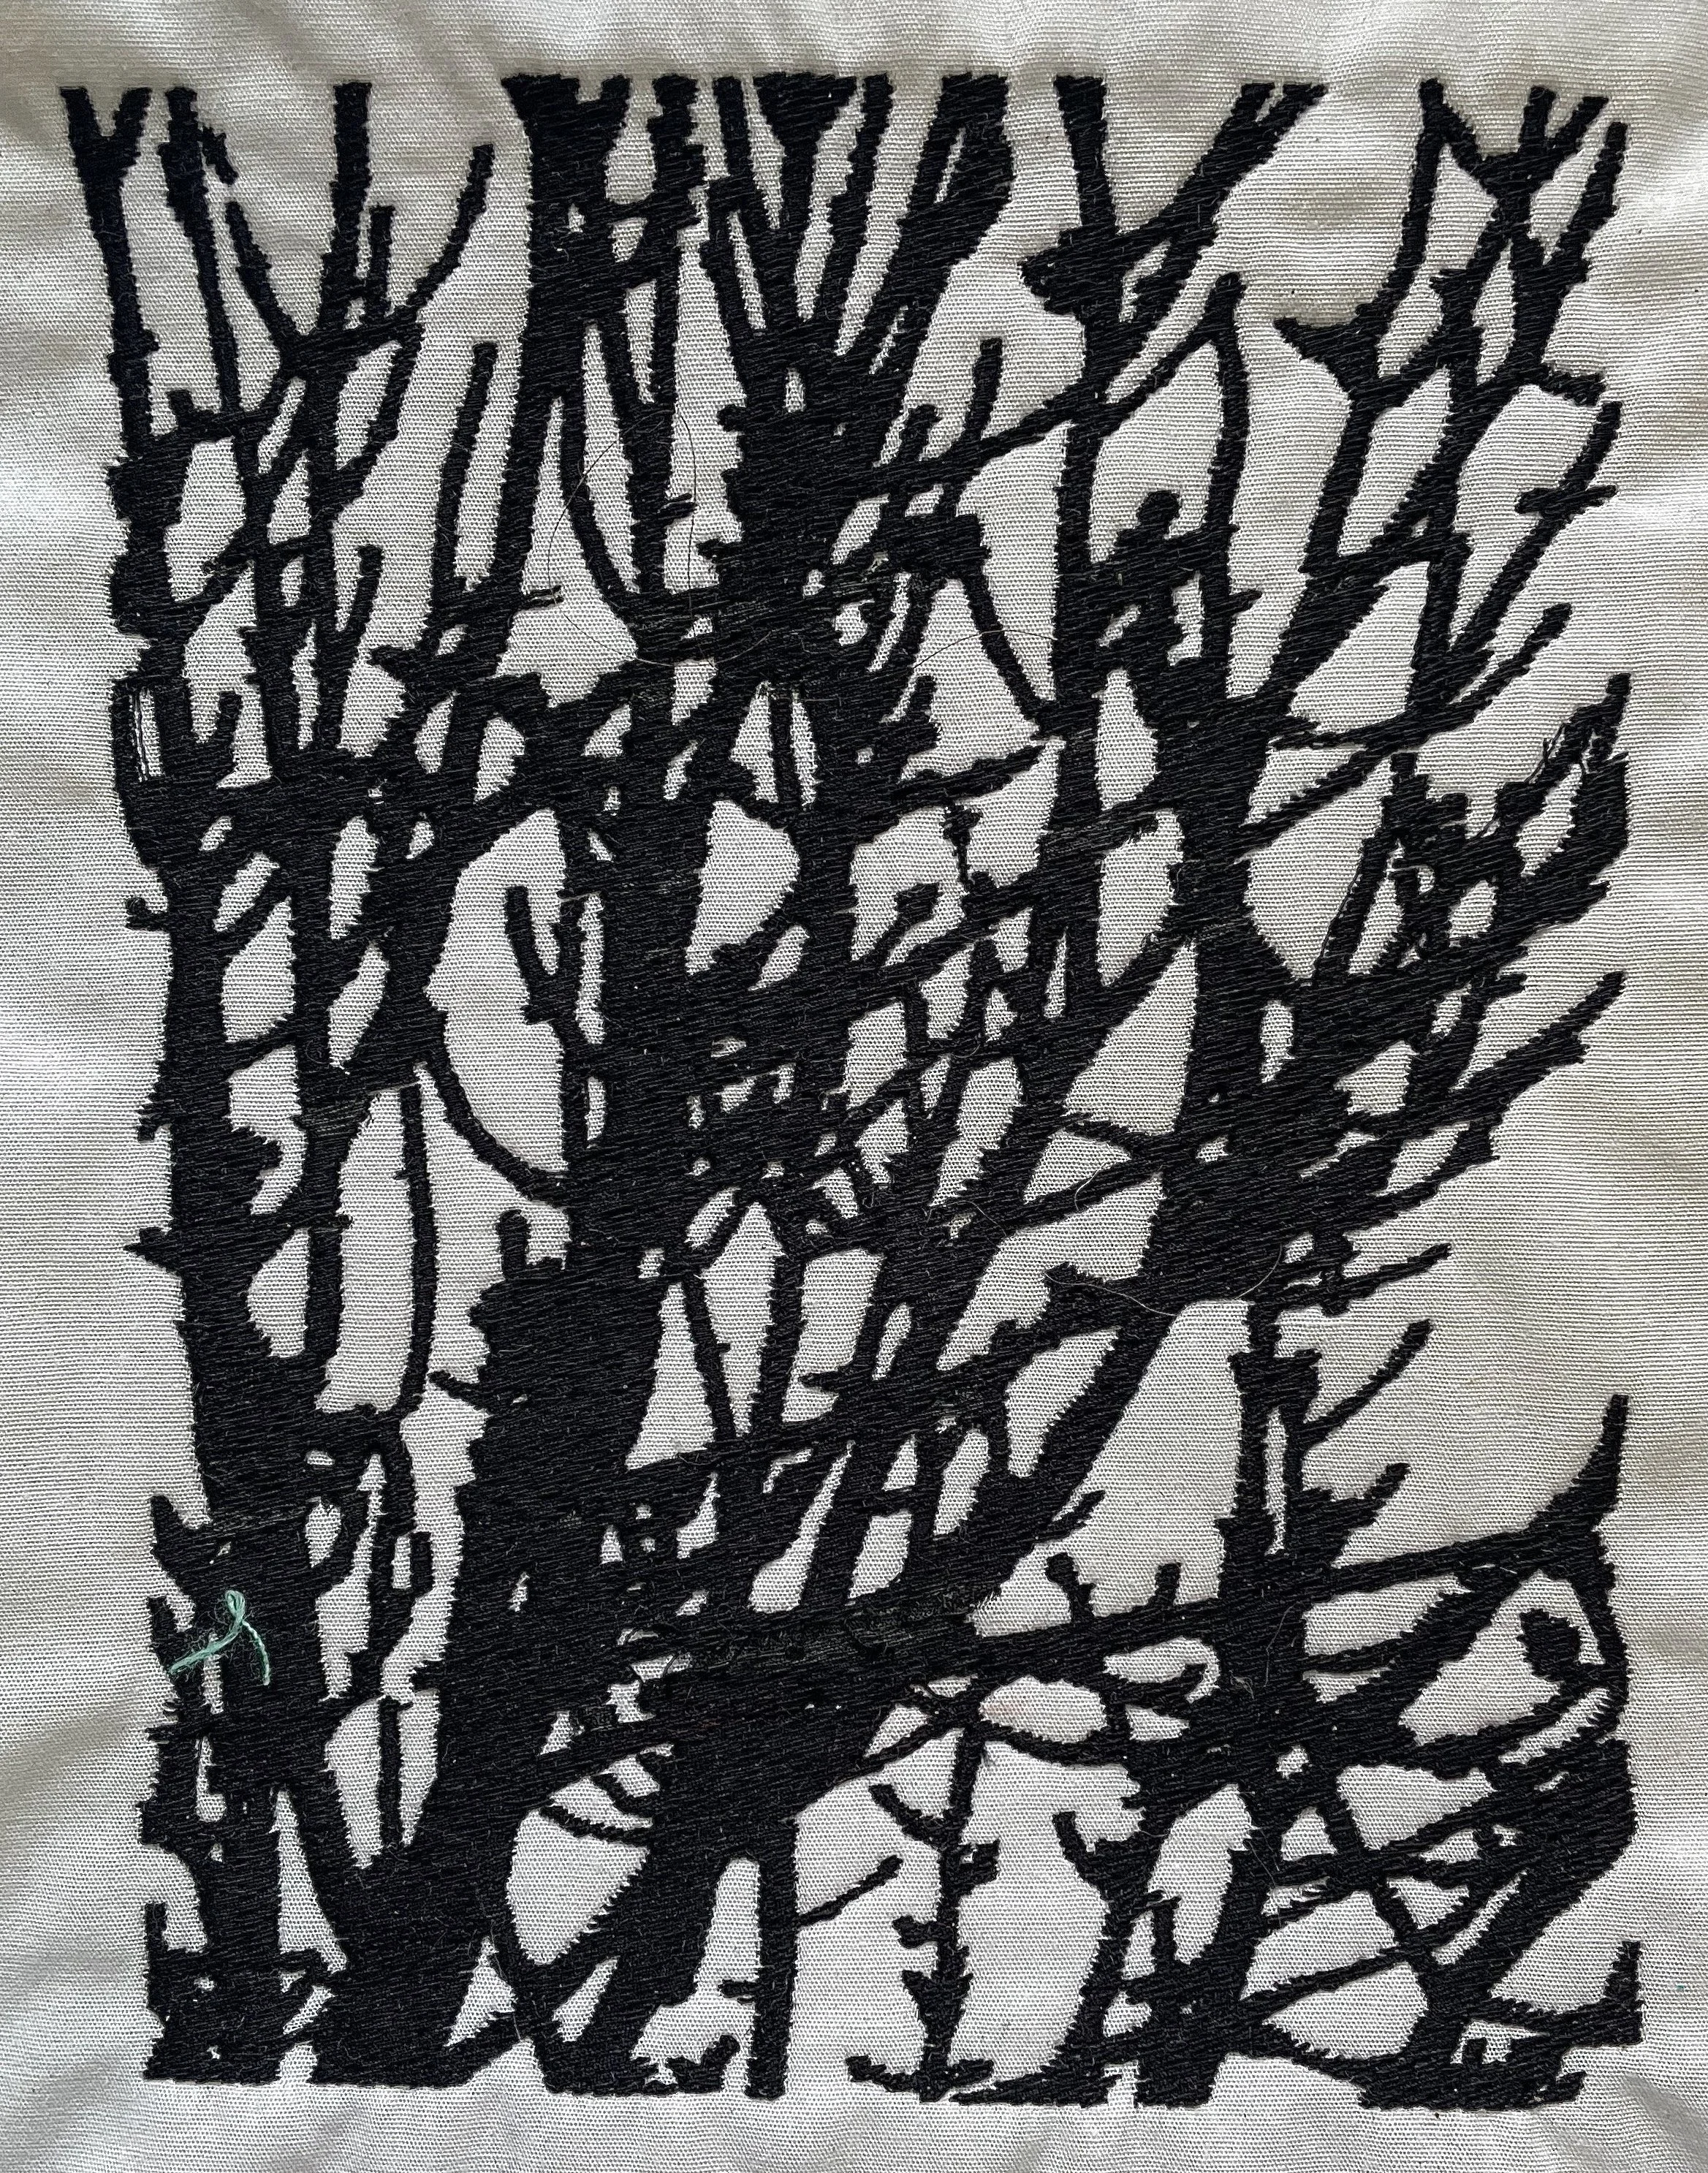
Digital embroidery
This is quite niche, as I know not everyone has a digital embroidery machine but I though you might like to see the process and the effects you can achieve.
The machines and the software come with lots of designs already loaded but they’re not usually my taste so I like to use my own photos and drawings and digitise them. It can be quite challenging and time consuming but once you have a design you can do lots of versions of it.
I used the same original photograph but I cropped it to simplify it and make it a bit smaller as the stitching out can take a long time and use a lot of thread.
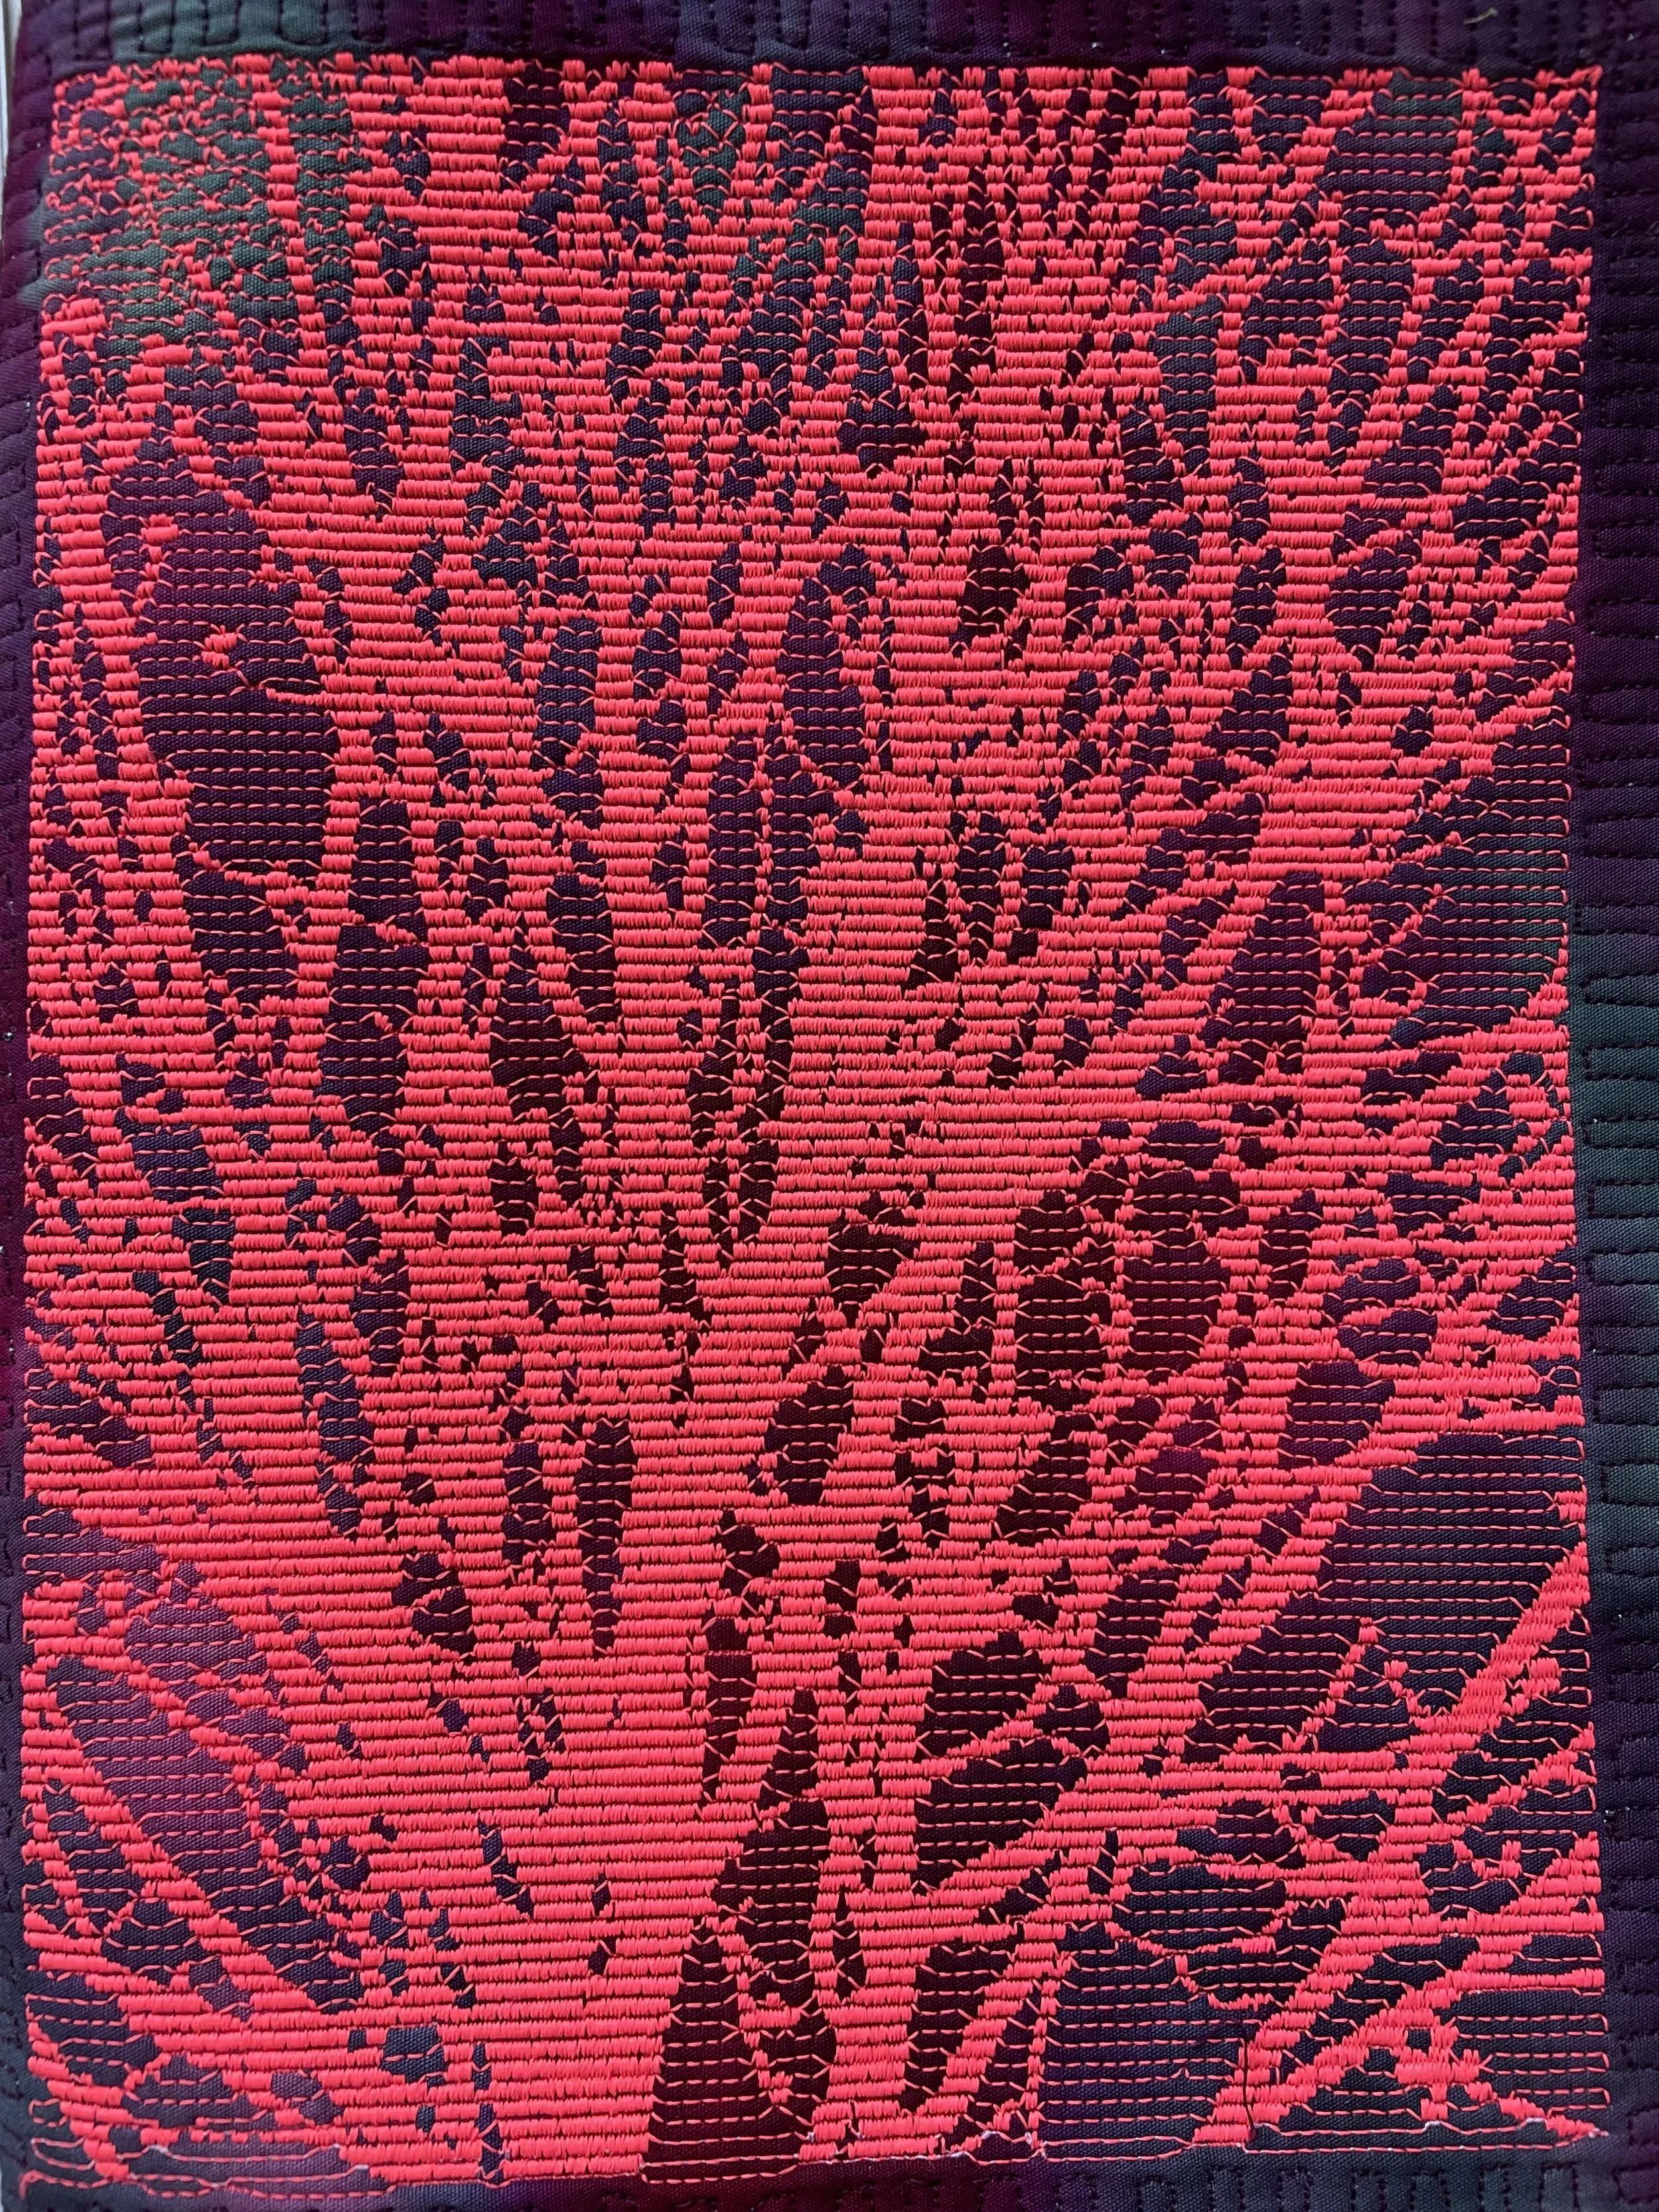
This first one was OK but I didn’t really like the raised texture so I did another version using a monochrome linear effect which I much preferred.
I did several differet colourways and my last one, luminous orange on a purple background, I have made into a quilted journal cover which I’ll show in an upcoming video.

